3D Bunny Portrait Art Project
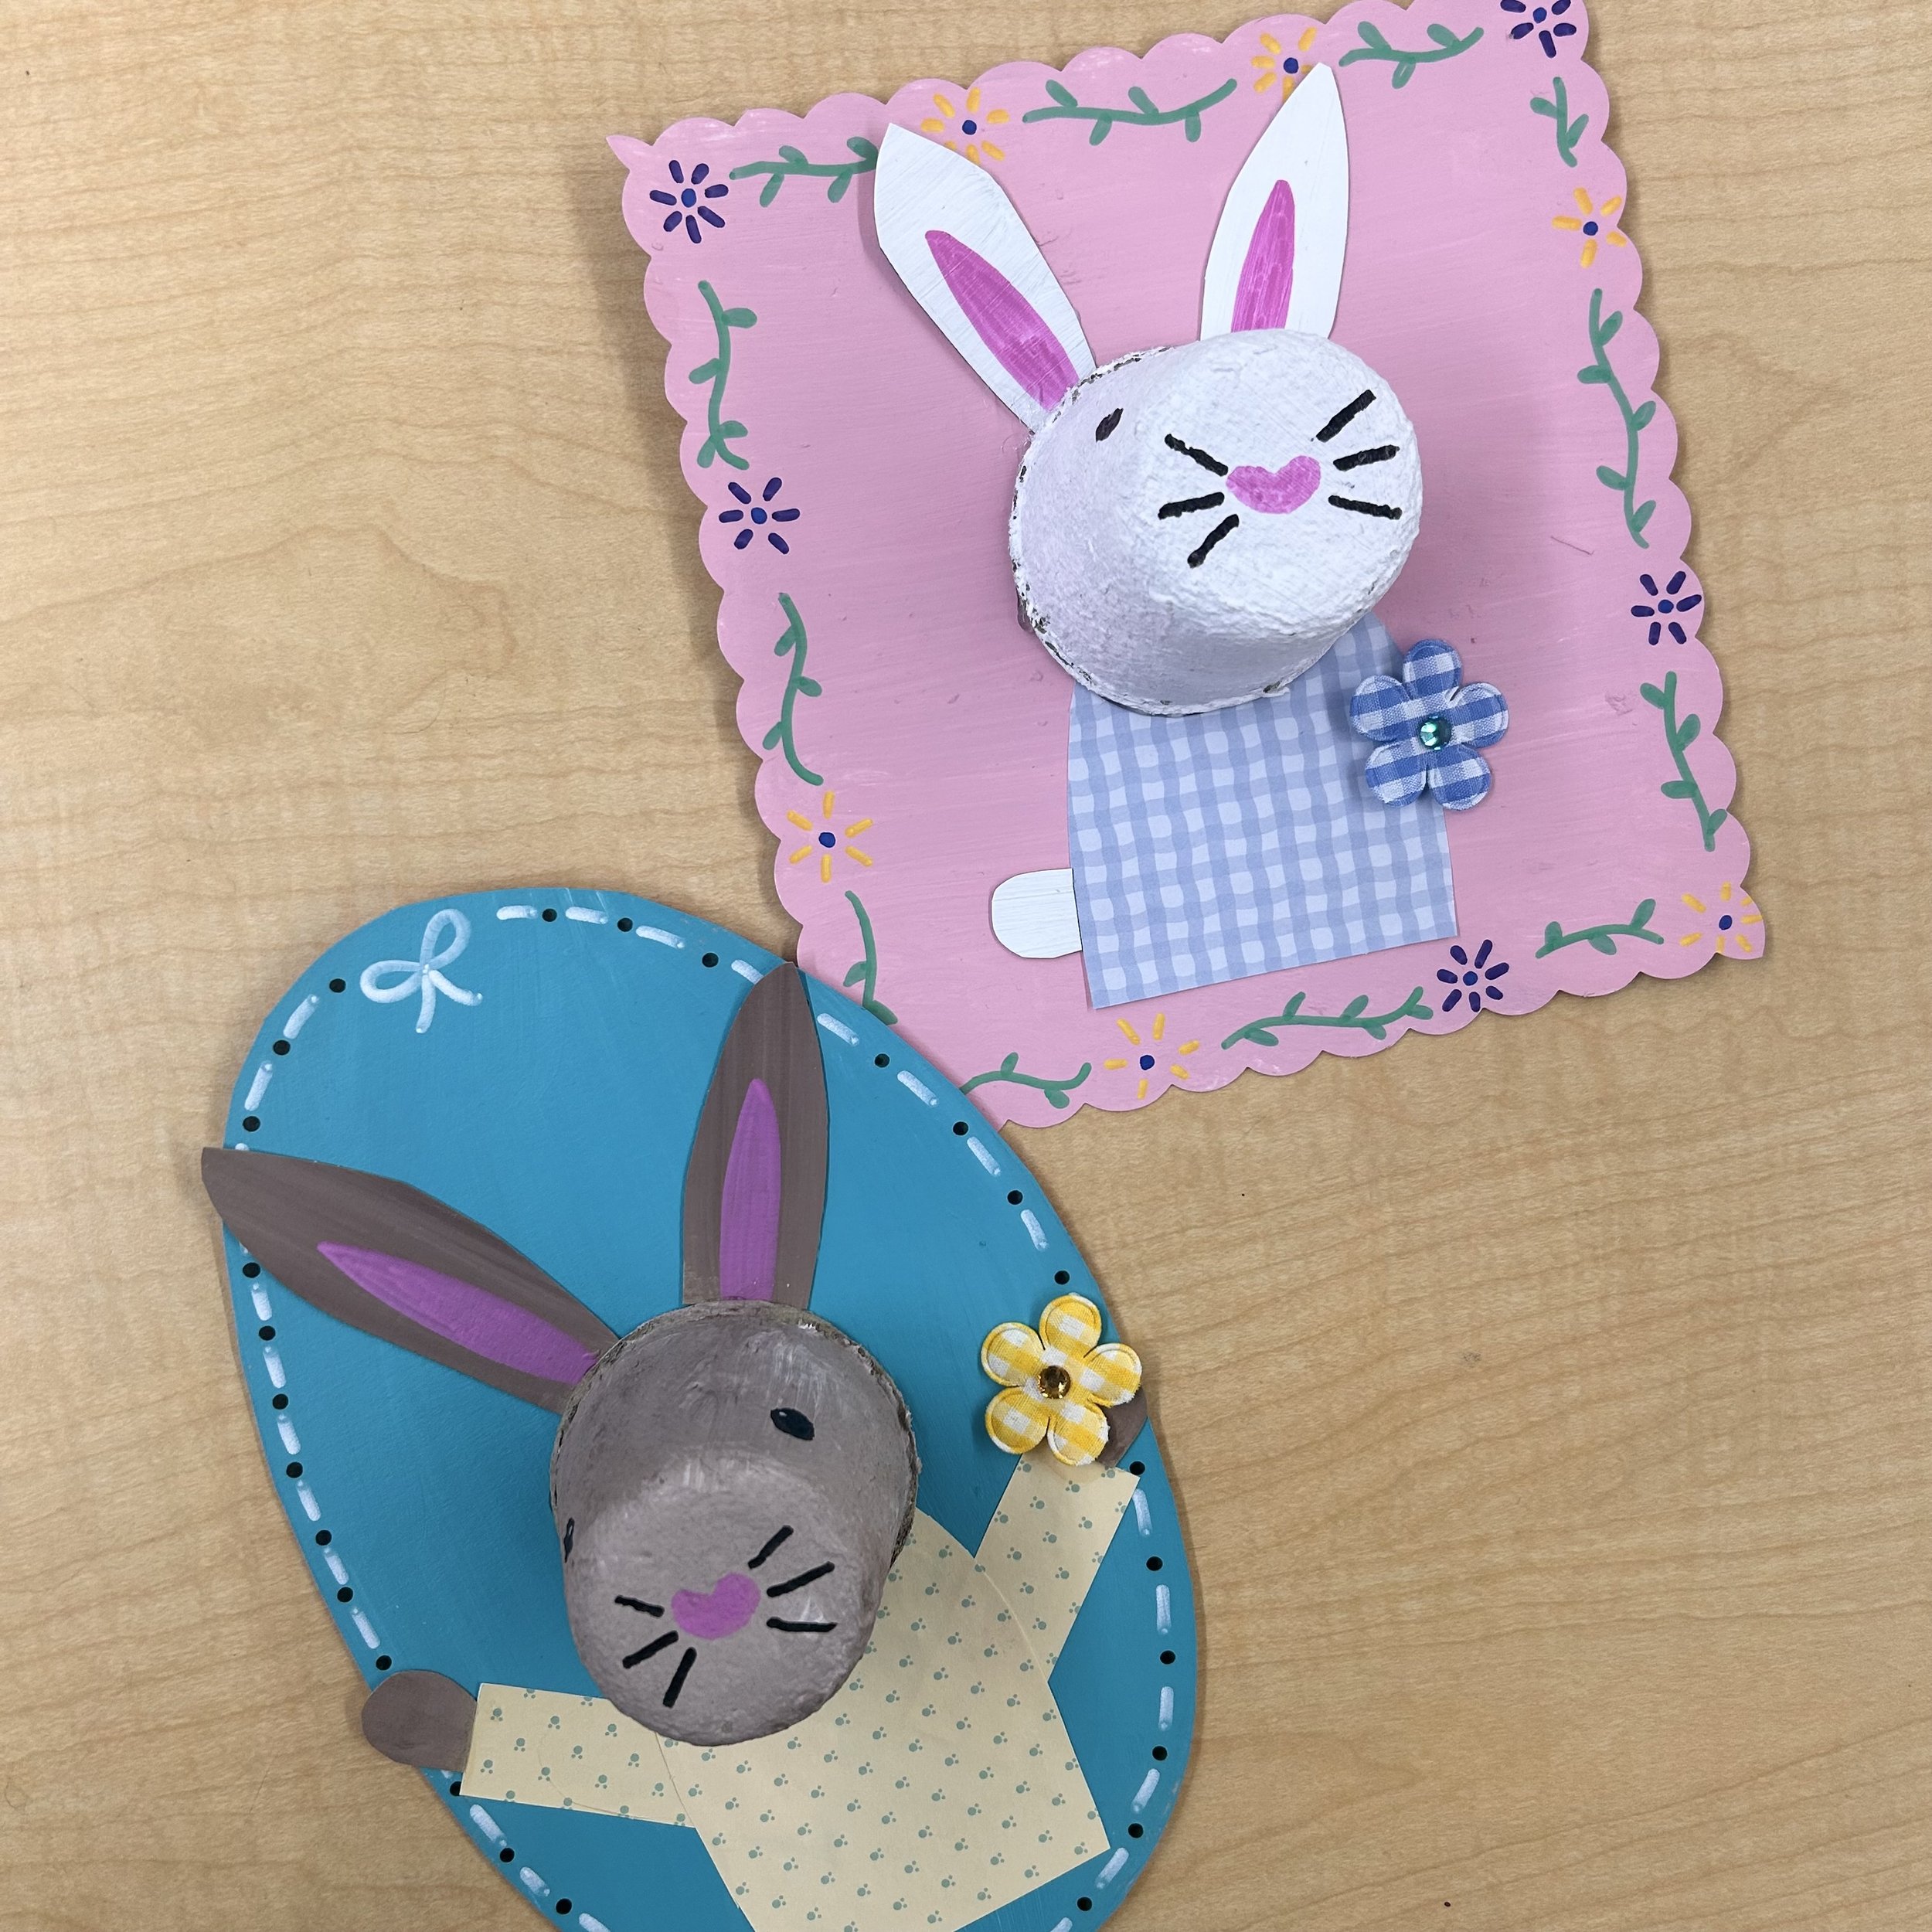
This project is a spin on the egg carton portrait project. These bunnies are absolutely adorable for spring or Easter.
When I saw @smilesamy70 do it with Jiffy pots instead…I was sold. You can totally use egg cartons if you want! The pots provide a stable base and are uniform all the way around.
You can do this same project and have students make different animals, all using the egg carton or pot for their head.
Time required:
Day 1 - individually, about 5-10 min per student. I’d recommend doing this in small groups.
Day 2 - 60 minutes
Materials:
Thin cardboard (ie: cereal box)
Jiffy pot (or egg carton)
Acrylic paint
Large paintbrush
Paint pens
Scissors
Glue stick
Hot glue
Pencil
Scrapbook paper or construction paper
Optional: yarn or string for hanger (plus tape), gems, flowers etc.
Notes:
Cardboard was donated by families.
I got my jiffy pots and paint pens at the dollar store. Purchased in the spring. If paint pens aren’t an option, maybe pastel or marker (though it may smudge). The pens were $5 from Dollarama…worth it to have a couple in your art kit!
I used acrylic paint because I wanted full coverage. You could use tempera if that’s all you have.
TEACHER PREP STEP:
I put a call out for families to bring in clean, thin cardboard. Things like cereal boxes, frozen pizza boxes etc. I didn’t want anything smaller than the cracker box. If it was crushed, I didn’t want it either.
I then cut them apart to get the biggest sides. I cut these into chunks of different shapes for the frames. If you have fun scissors, this is a great time to use them! Save the skinnier sides as each student will need an extra chunk to paint for their ears/paws.


STEPS DAY 1
You will want to do this either earlier in the day (requires dry time) or on a separate day from the second step.
This was a huge mess as a whole group, too many things going on. I recommend pulling a few students at a time to do this step while the others do another task
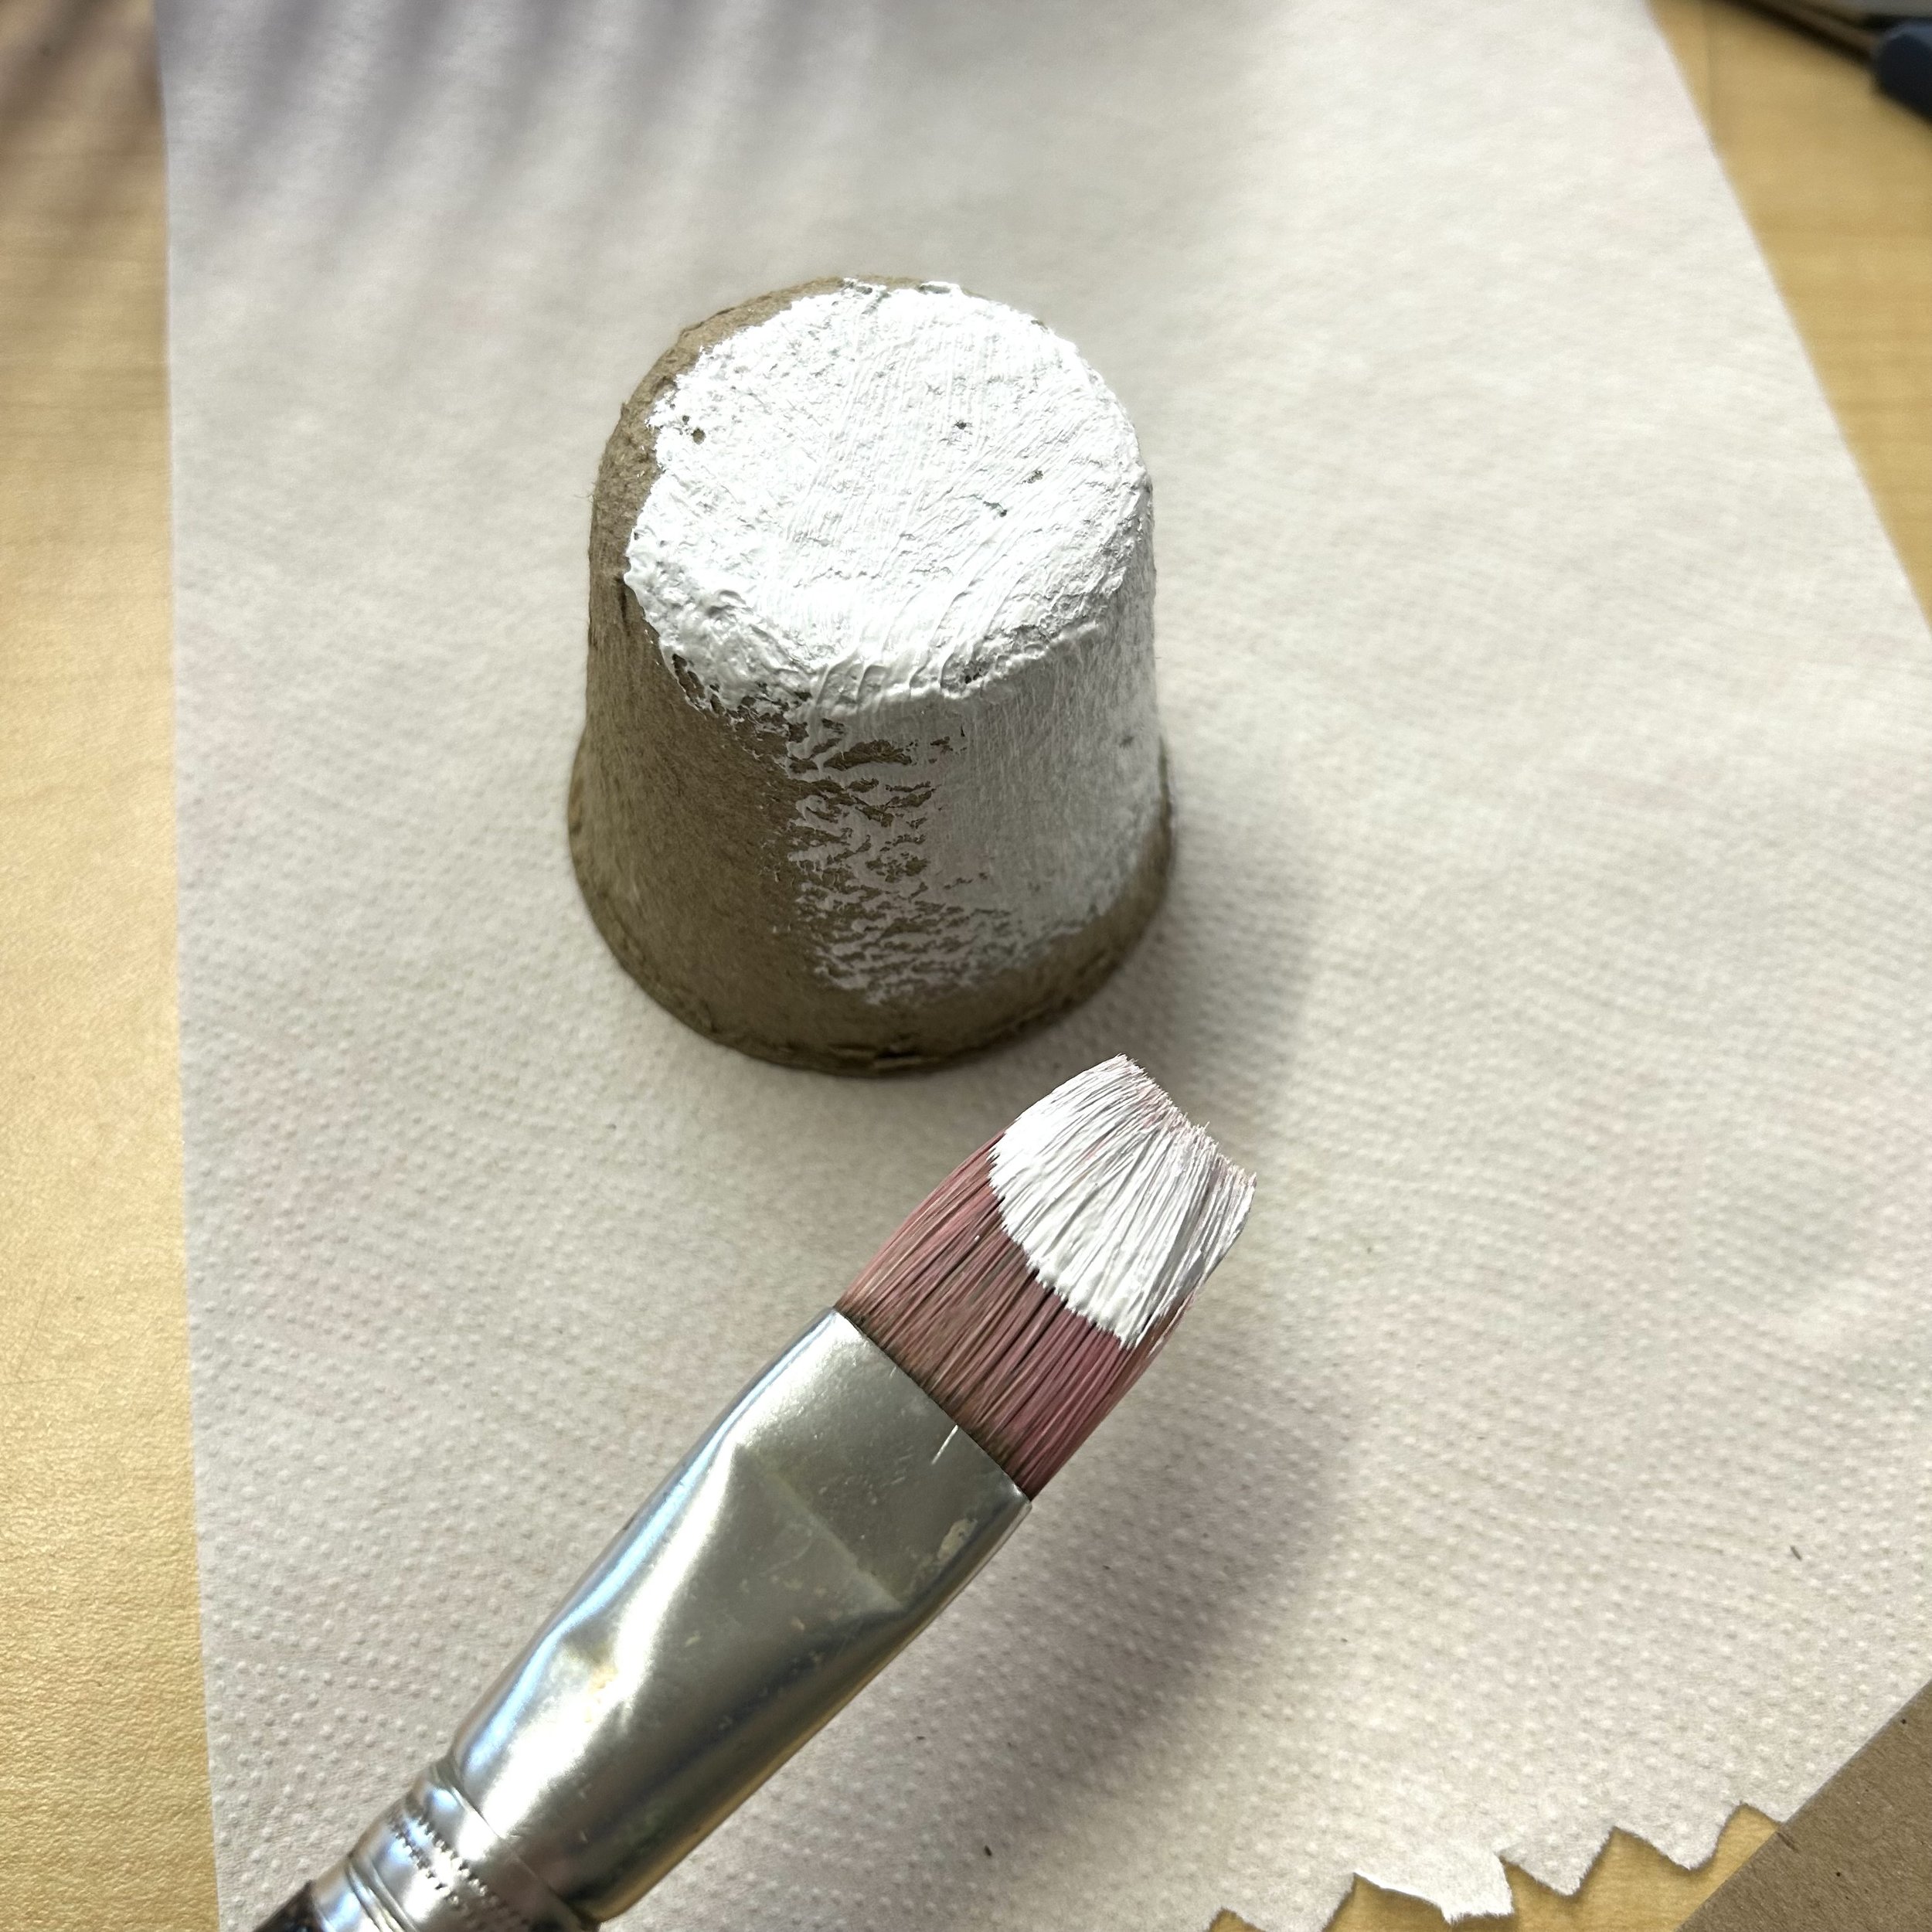
Paint your pot any bunny colour (white, brown, grey).
Paint a small piece of cardboard the same colour as your pot. This will be used for the ears and paws.
Choose a frame piece and paint it a solid colour.
*we will have plenty going on with the shirt, face and frame decoration so keep it simple.
Leave everything to dry.
Note: the cardboard will curl on itself, don’t worry. All of ours went flat on their own once they started drying.


STEPS DAY 2
You will need hot glue today. Heat it up!
I made stations to help this run more smoothly. Students worked at their starting station, then moved to another when complete.
Tables 1-3 had paint pens (this is the longest part so having 3 sets of pens really helped).
Table 4 had scrapbook paper for the shirt.
Table 5 had glue sticks and scissors to cut out the ears and glue their pieces down.
My table had hot glue, yarn for hanger and finishing touches.
Decorate the outside of the frame. I used paint pens. This set was $5 from Dollarama. Students shared sets.
Use the paint pens to add eyes, a nose, and whiskers to the pot. I gave them Sharpies for the black elements as there was only 1 black marker in the paint pen pack.
Cut out some ears and paws (if desired). Add some pink for the inner ear.
*could use pink construction paper for inner ear
Draw and cut out a shirt for your bunny on scrapbook paper or construction paper. Use the pot for size reference.
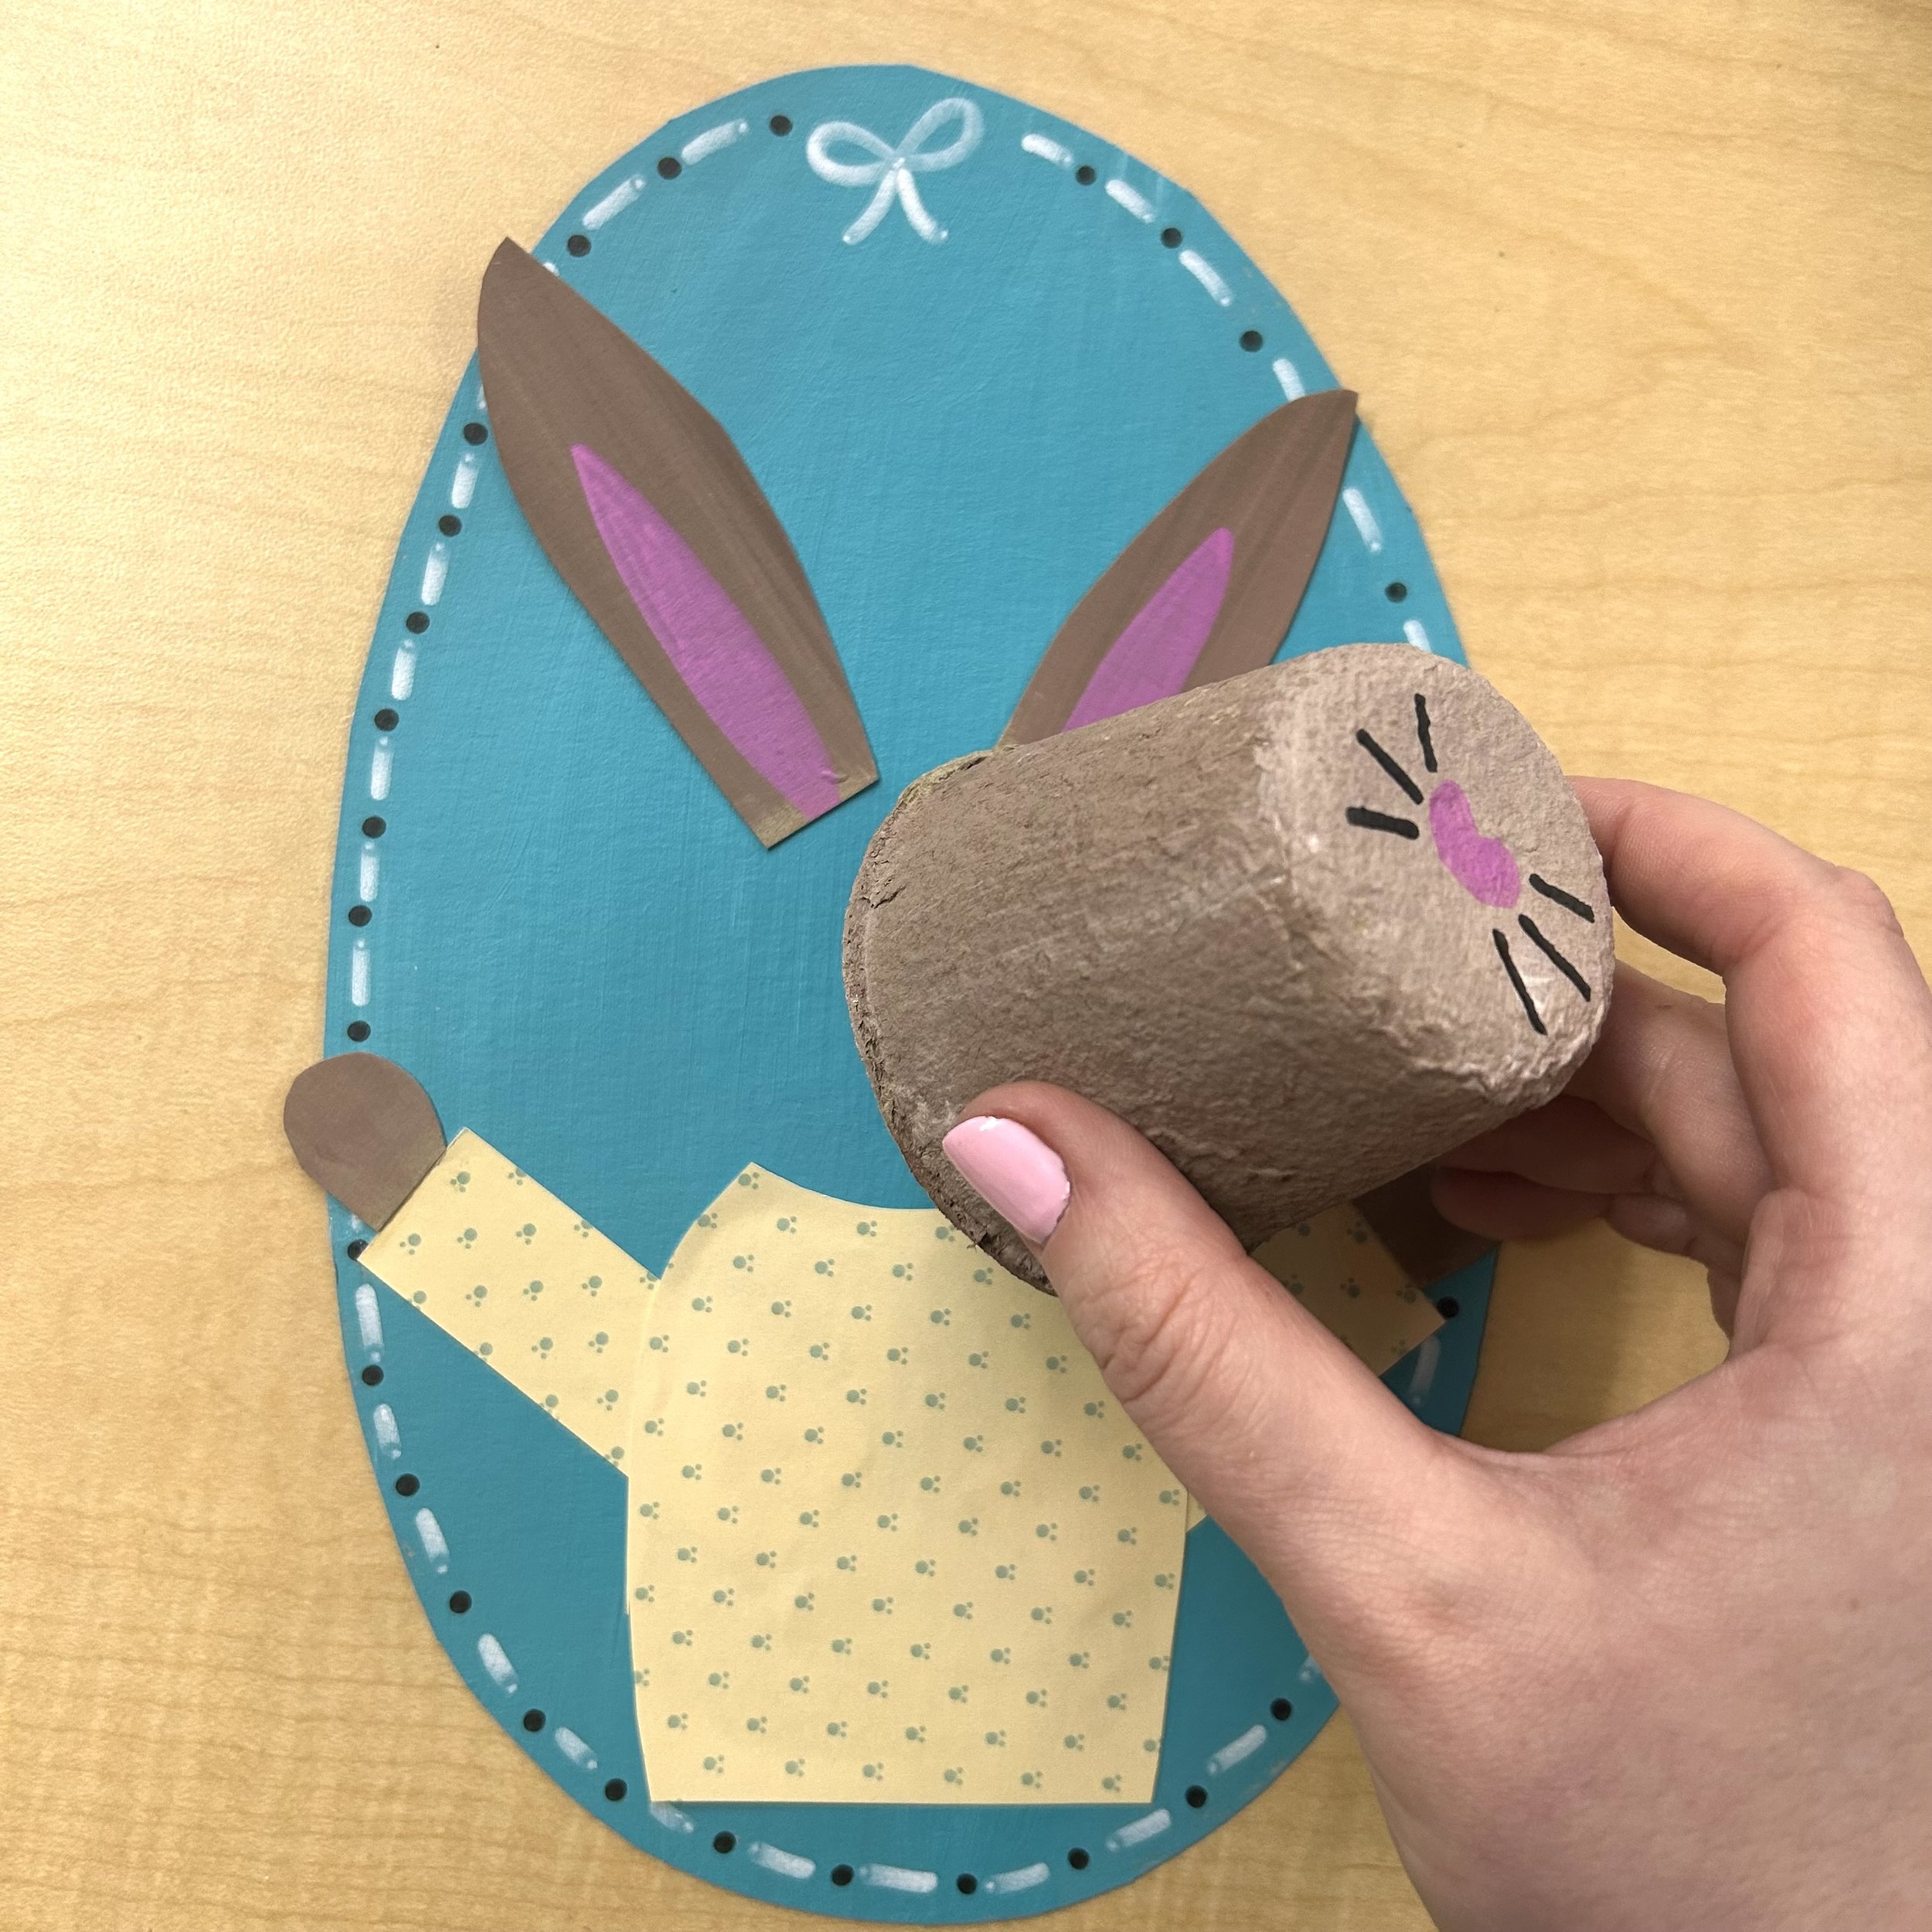
Use a regular glue stick to glue the shirt, paws and ears to the frame. I used the pot for placement reference but did not glue it down. Ears may need hot glue if the cardboard is thick.
Use a piece of yarn or string and tape two ends on the back of the frame.
Glue down the pot with hot glue.
If desired, add a prop, like these little flower stickers.