

Watermelon Weaving Art Project
This is such a fun summer project that involves NO PAINT! There are tons of videos that will show you exactly how to do this project, I got my inspiration here. This project uses 11x17 paper but you can absolutely make a smaller version using 8.5x11 paper instead.

Time required: 60 minutes
You could break this up and prep everyone’s materials on day one (steps 1-5) and do assembly on day two.
Materials:
11x17 construction paper (green, pink, red) or 8.5x11 also works for a smaller project
1/4 sheet black construction paper per student
Scissors
Glue
Ruler
Pencil
Teacher prep:
Pre-cut your black construction paper into smaller sections. Each student will use about a 1/4 sheet.
I have my students cut their own red weaving strips, but if their ruler skills aren’t too great (thinking of our younger friends), you may want to pre-cut them.


Steps:
Fold your pink paper in half. Draw a curved line going down the side and scooping the bottom. You want to make half a “U”. Make sure to leave enough space on the edge that a green rind could fit. Now cut it out.
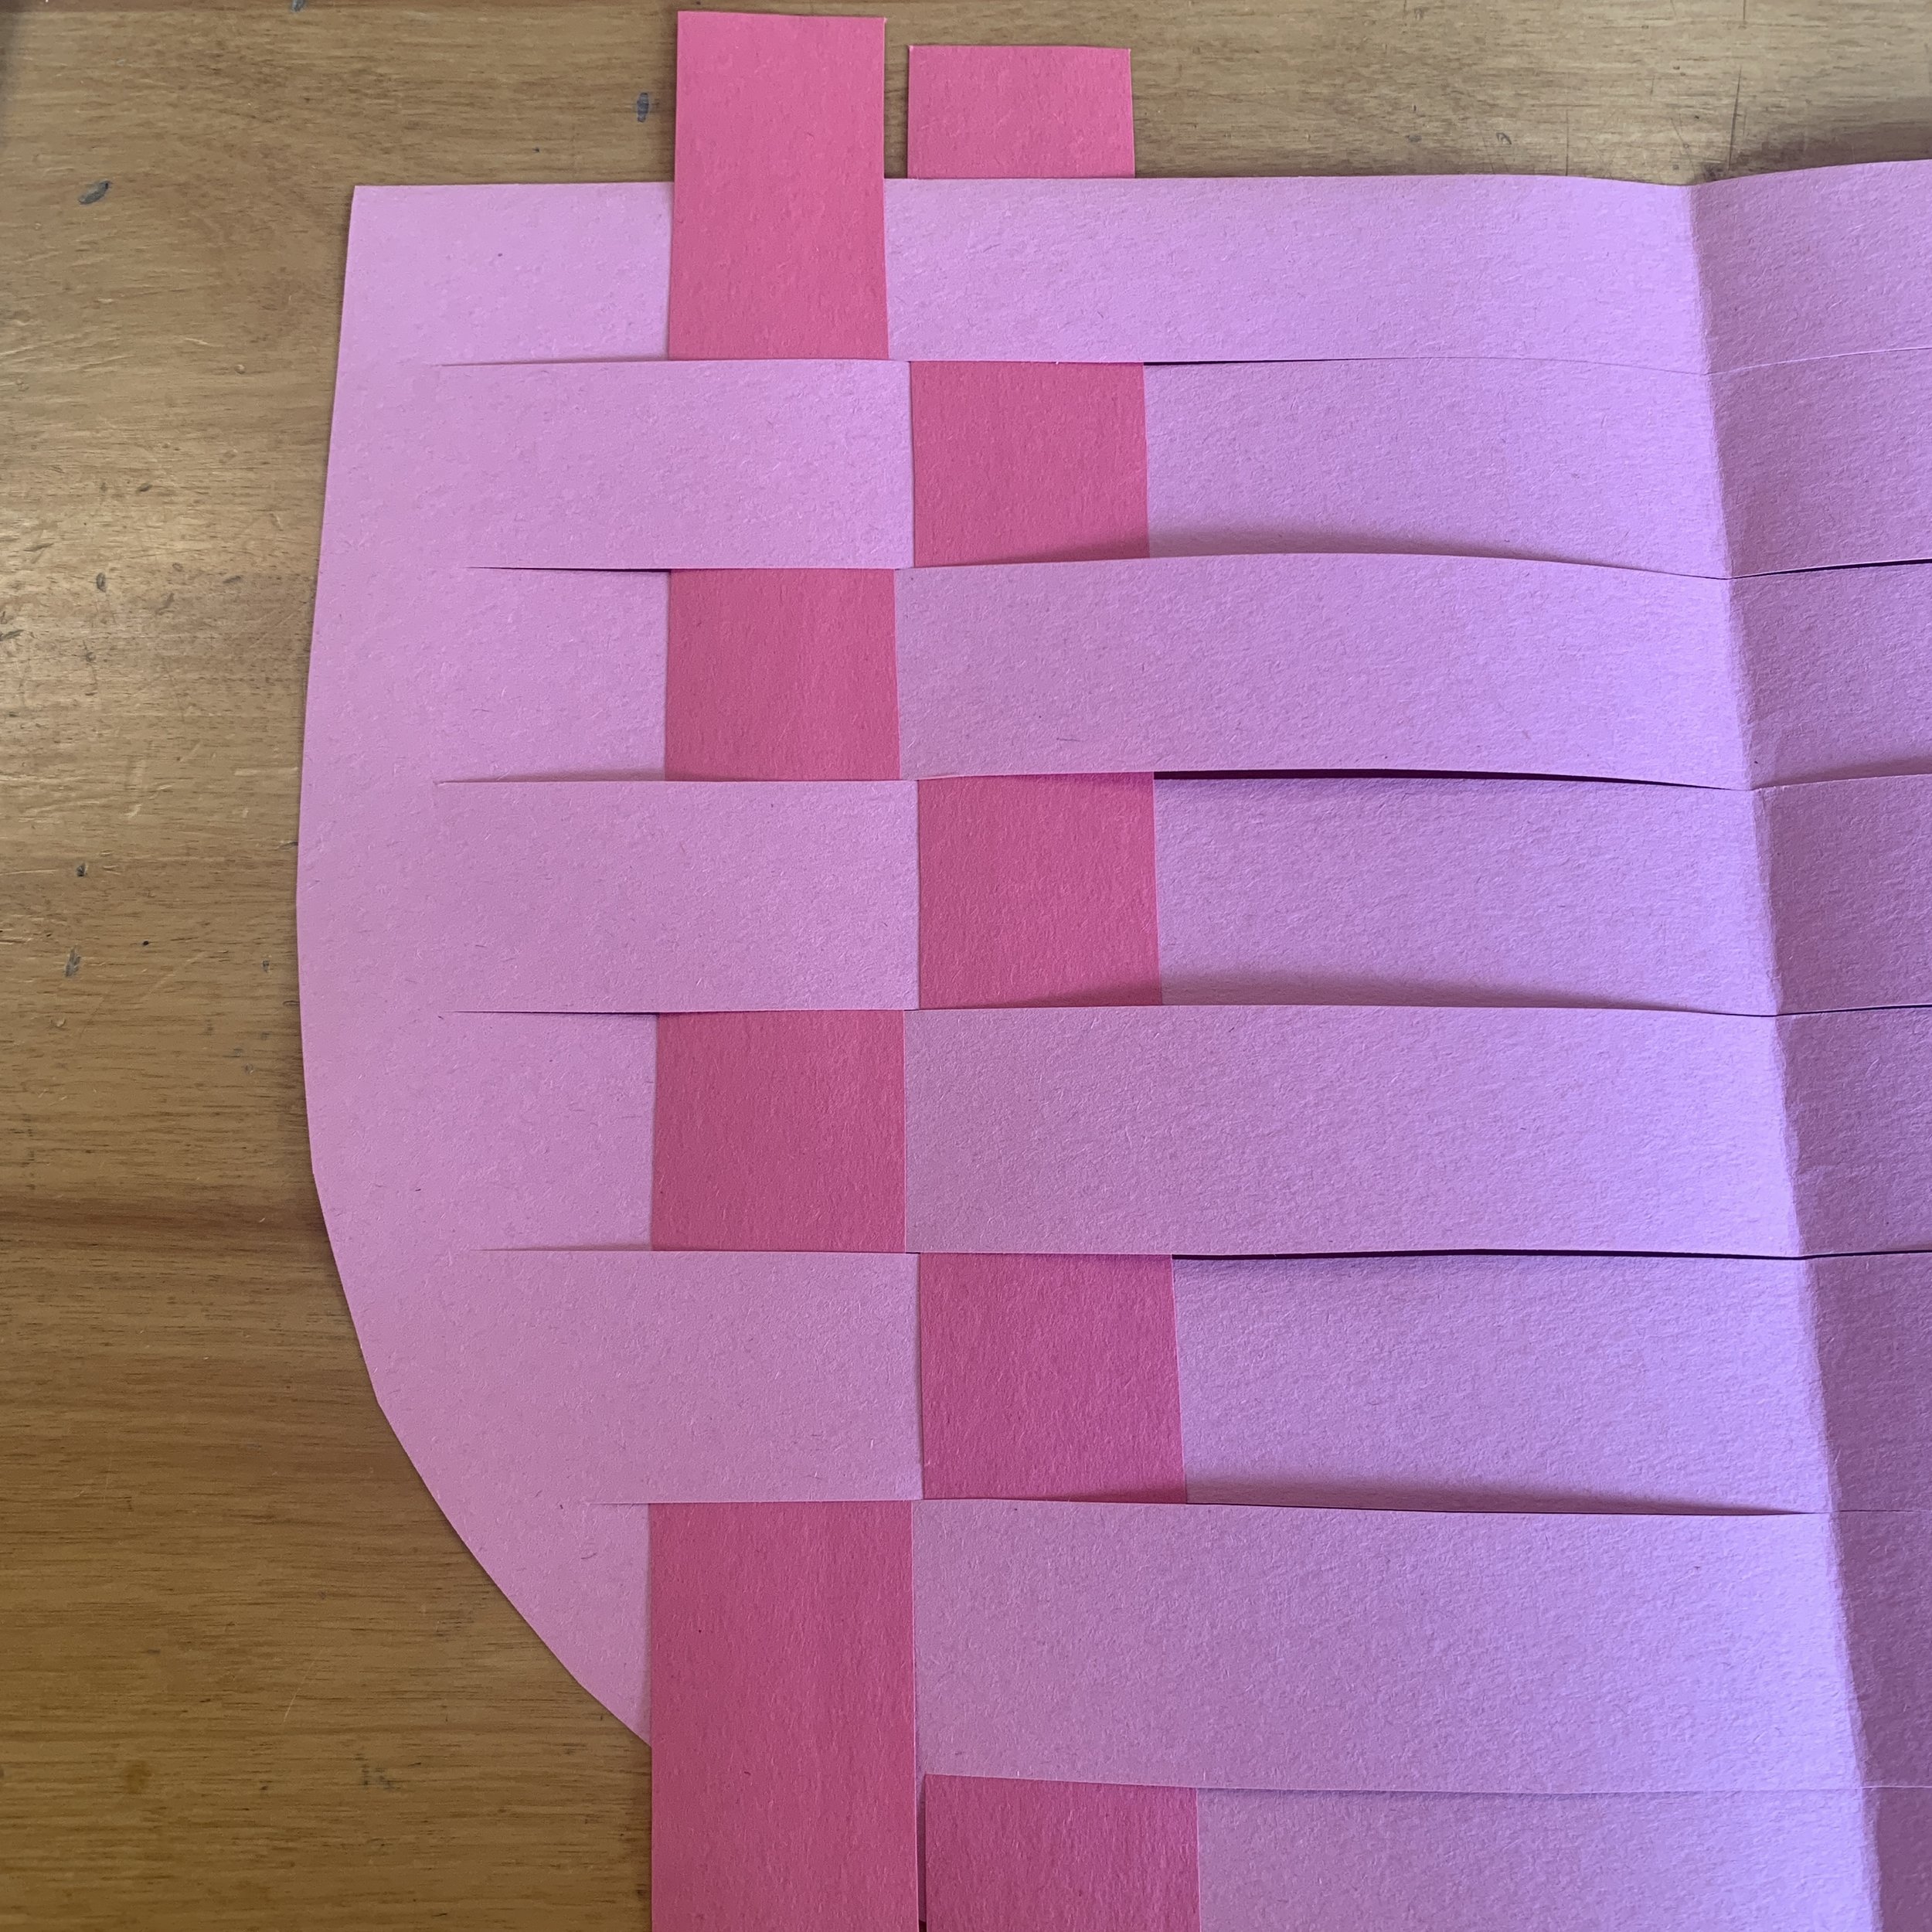
Keep your pink paper folded in half. Using a ruler, draw lines horizontally across the watermelon. Make sure to leave some space, don’t go right to the edge. Now cut on these lines.
Open up your watermelon. It should have a bunch of horizontal cuts, but nothing is falling off.
Prepare your weaving strips. Use the ruler to make even sections on the short edge of the paper.
Cut out your weaving strips.
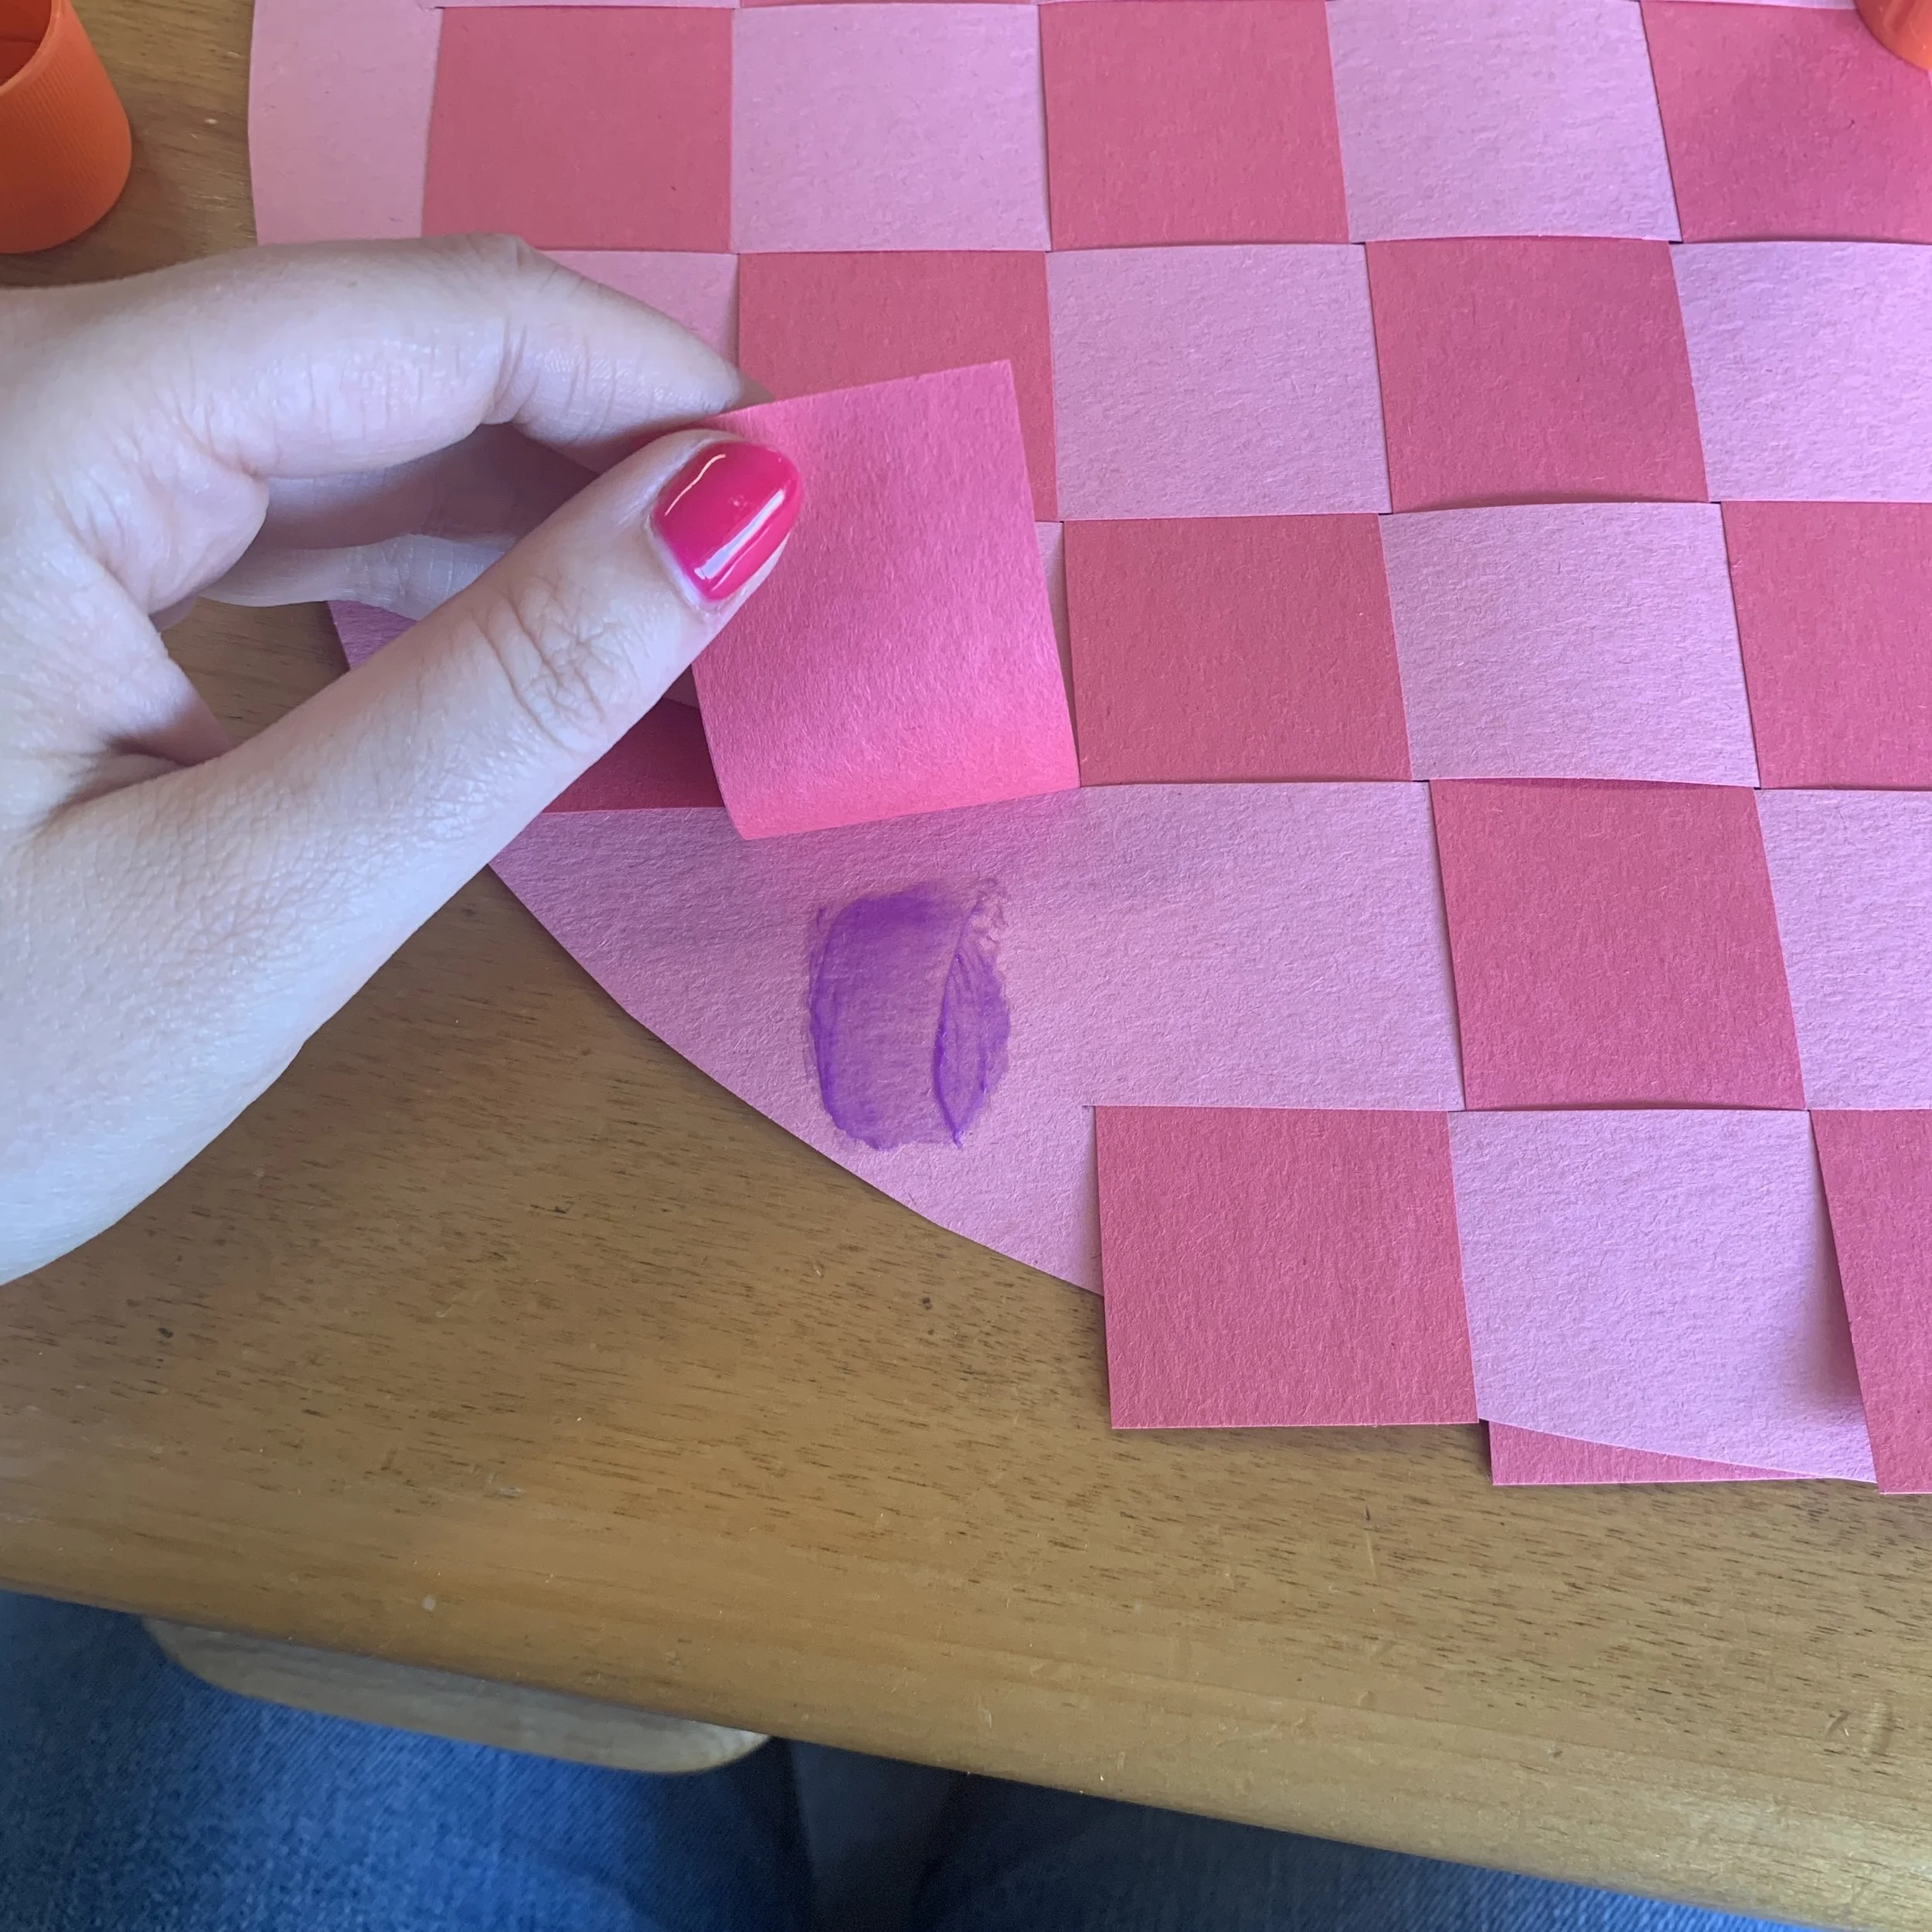
Begin weaving your red strips into your watermelon. Use an under-over-under-over technique. On the next strip, do the opposite.
Continue weaving until you have filled your watermelon.
Add a bit of glue to where you have loose ends and secure them to the watermelon.

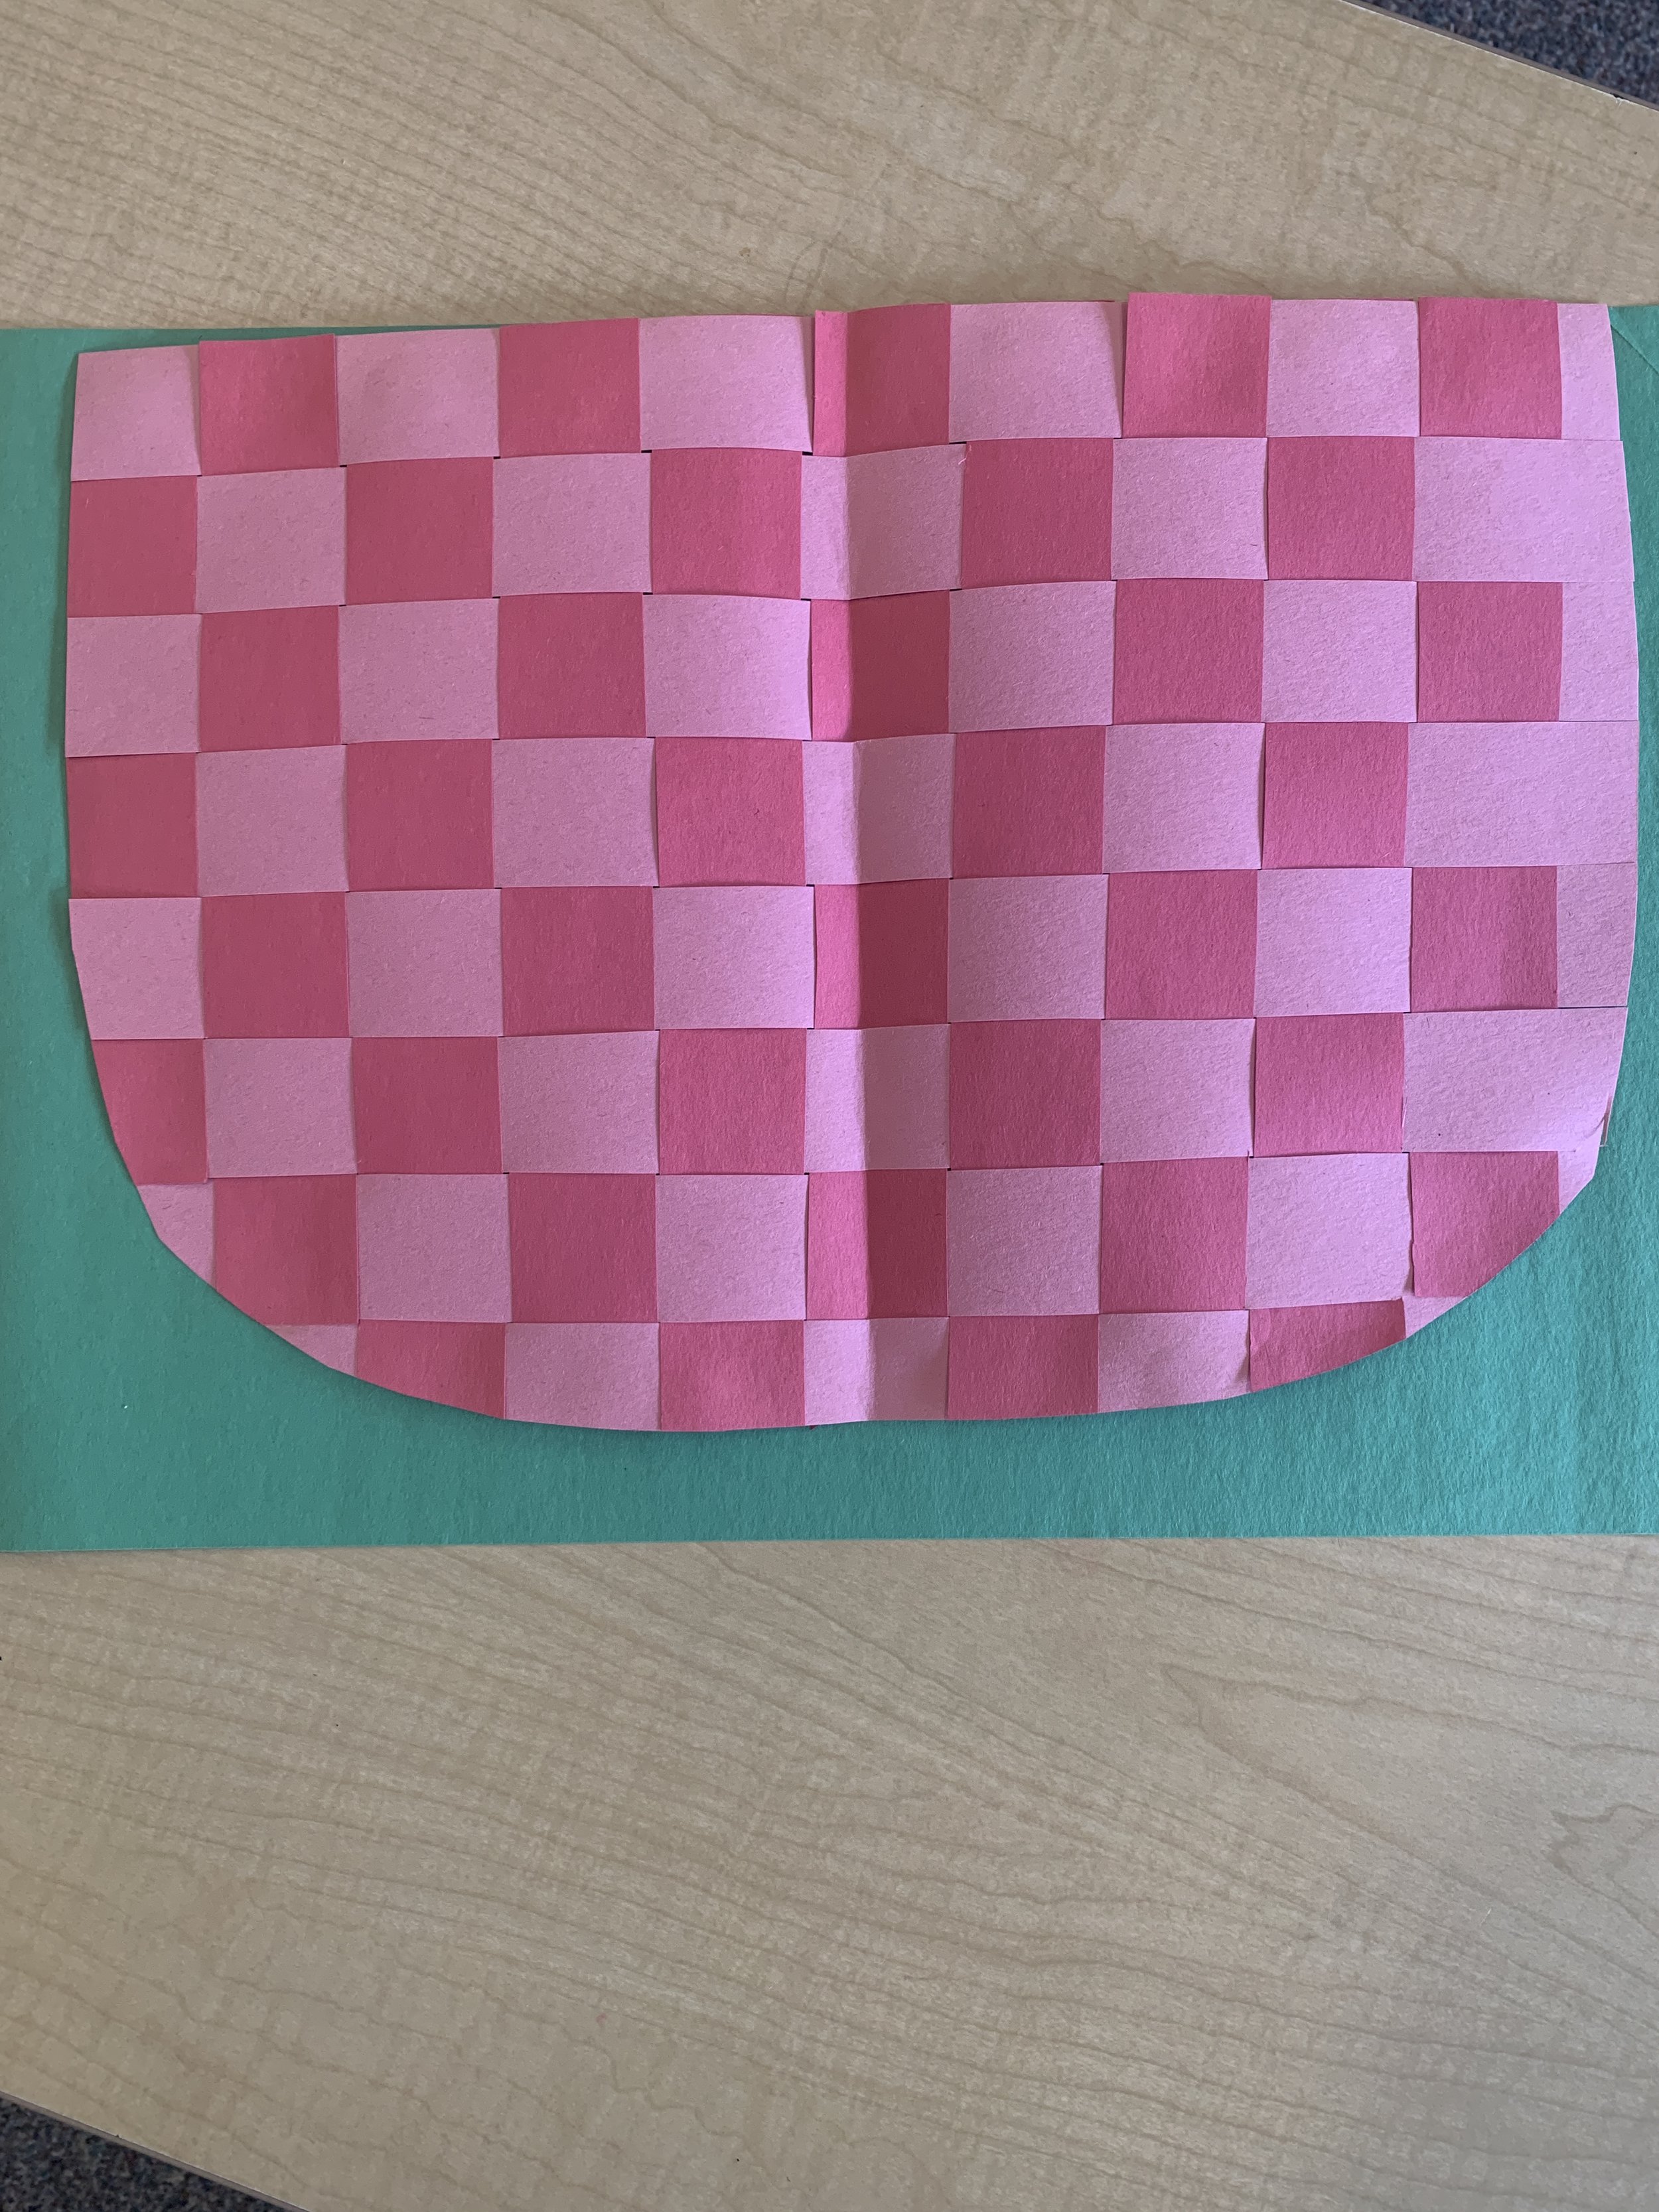


Once all the ends are glued down, trim any excess around the watermelon.
Place your woven watermelon on the green paper and glue it in place.
Now cut around the watermelon to make a green rind. To do this, I found it easiest to fold the watermelon in half (done side out), so that you can evenly cut the sides.
Using black construction paper, make some seeds and glue them to your watermelon.
