

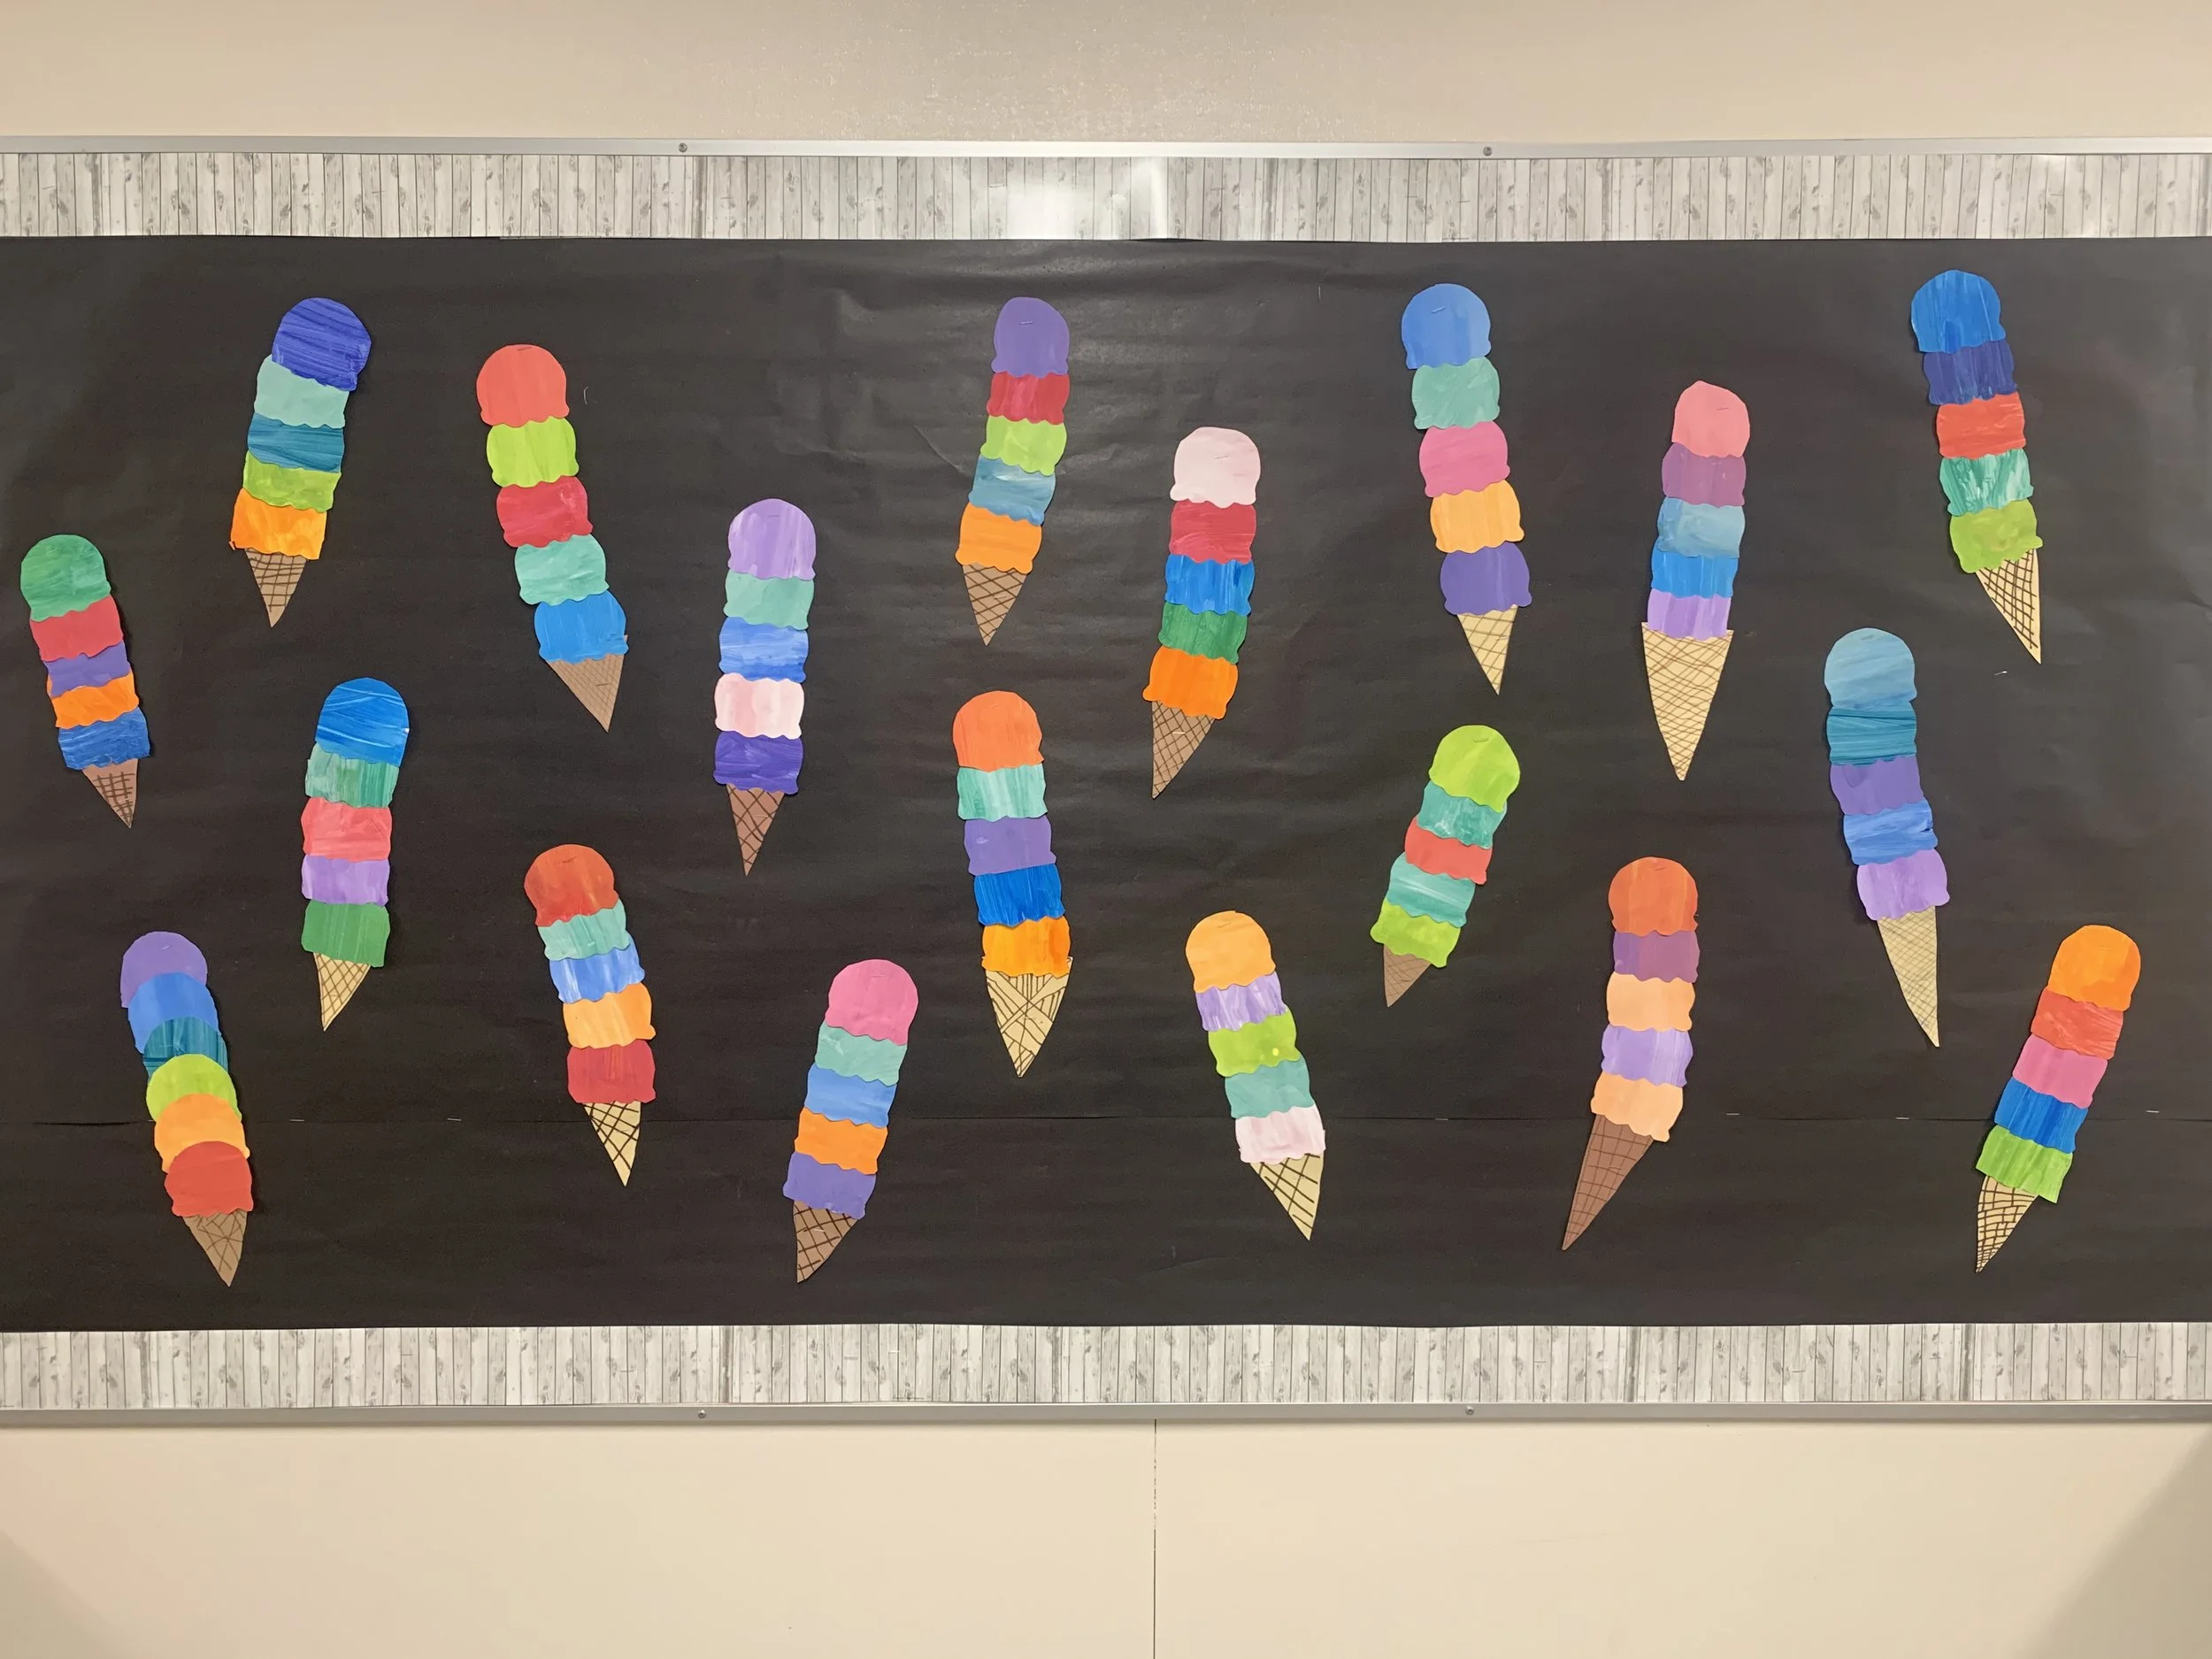
Stacked Ice Cream Cone Art Project

This project is a great way to use up extra painted paper or create some new ones for a bright summer project.
Alternatively, you can simply use construction paper or have students colour their own scoops. You could even go wild and add patterns to the ice cream. While this may not be very realistic, it could be fun!
This is not my original project, there are tons of examples from different folks online. Have a peek at Pinterest!
Timeline:
If doing painted paper, this project takes two sessions over multiple days to allow dry time. If using construction paper, you’ll only need one session.
Day 1 = 30-40 minutes
Day 2 = 30 minutes
Materials day 1:
White paper (printer weight is fine)
Liquid tempera paint in a variety of colours
Large paintbrush
*if opting for a shades version, there is a template that you can use (see below)
Materials day 2:
Painted paper from session 1 cut into squares
Brown construction paper for cone (cut into sections)
Brown oil pastel, crayon or marker
Glue stick
Pencil
Scissors
Ice cream tracers *optional
Teacher prep required for this project:
Cutting tracers for scoops (optional) - BEFORE STARTING PROJECT
I used this free shape from Blue Bees Workshop. For size, I put 6/page, printed on card stock and cut out.
Cutting up the painted paper into squares - AFTER DAY 1
Steps day 1 - CHOOSE OPTION 1 or 2
OPTION 1 - SHADES
You may choose to have students paint 5-6 squares of the same colour in various shades. In this case they will start with the darkest shade and add white to change the shade. (Dark blue to light blue, for example).
Start with your darkest shade, the colour by itself and paint one square.
Now add a bit of white to make it lighter and paint another square.
Continue until all 6 squares are painted.
Don’t worry if they get a bit on the wrong section, we’ll be cutting them out.

Here’s an example of a shades of blue painting for option 1.
In this case each child is working on their own paper and making their own shades.
They will decide which colour they want to use. Shades of pink, green, blue, yellow etc.
*Click the button below to download the chart template
OPTION 2 - COLOURFUL
You may choose to create colourful cones in which case work as a team to make a bunch of different colours. You’ll probably want each student to paint 2 pages.
Pour paint onto palettes or plates and divide them among students. You could have colour teams, so table 1 is working on greens, table 2 is working on orange/yellow etc.
Students will mix the paint on their sheet to cover the entire area. I recommend painting in one direction, rather than swirls or back and forth motions.
Once the entire area is covered, leave it to dry.
Before leaving for the day, take the papers off the drying rack or counter. They’ll probably be curled, so flatten as best you can, then put them under something heavy to get weighed down overnight.


Teacher prep needed before day 2 (if doing option 1 painted paper)
Cut off the excess white bits around the edges of your painted papers and chop them into squares. I usually get about 6 per sheet.
Steps day 2:
Select as many squares as you want scoops. I did 5 but you can do more or less.
Use a tracer and a pencil to trace a scoop shape on the back of each painted paper square.
Alternatively just draw your own scoop shapes
Cut out the scoops.
Decide on the arrangement of colours. Start with the bottom colour scoop and add a bit of glue to the top of the scoop, placing the next one on top. Continue until all scoops are attached.
Cut out a cone shape and add some criss-cross lines to make it look like a cone.
Glue the cone to the back of the bottom scoop.


