

Spring Cherry Blossoms Art Project
Spring means cherry blossoms. I love when the rows upon rows of cherry trees blossom and streets become soaked in pink. It’s a sign that the cold winter is on it’s way out and we are headed for warmer day. I’ve only this project twice with kindergarten students but you can adapt it with more branches for older students.

Timeline: 40 minutes
Materials:
White paper
Yellow or pink construction paper (optional)
Pencil
Sharpie
Paint (brown and blue)
Paint brush (thinner for branch, larger for blue sky)
Pink tissue paper
White liquid glue
Teacher prep:
Pre-cut small squares of pink tissue paper.

Steps:
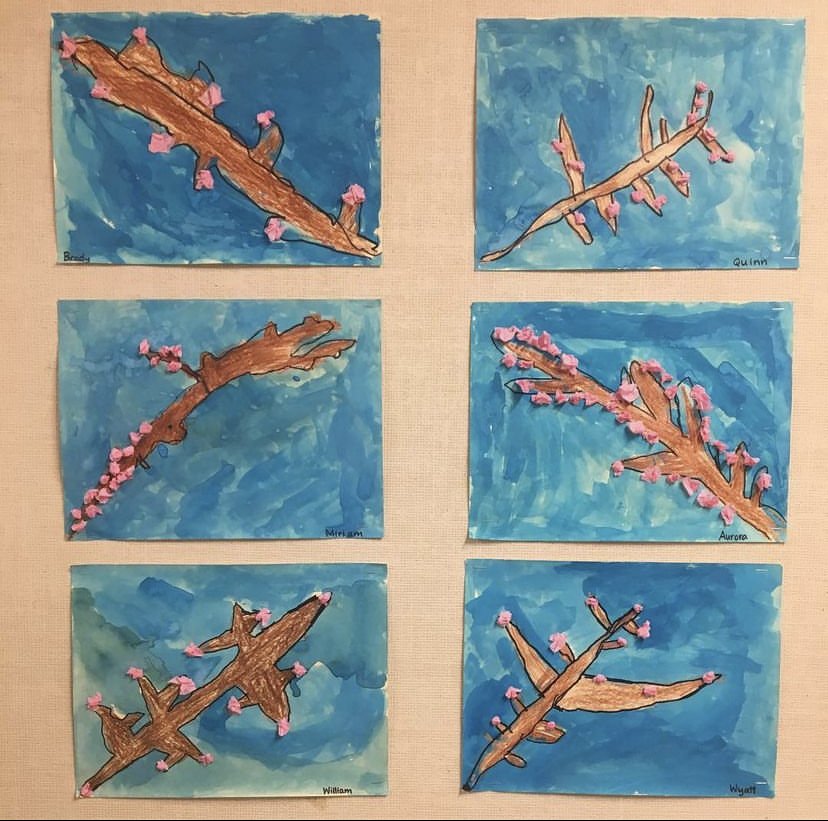
Start by drawing a branch coming from either bottom corner of the paper (in landscape). If you have older students, perhaps they can include multiple branches. Include thinner branches coming off the main branch.
Trace your branch with the Sharpie.
Paint the branch in brown and the sky in blue.
Once dry, make your blossoms by bunching tissue paper and dipping it in liquid glue. Attach these blossoms all over the branch. The example ones are pretty tight but they can be a lot fluffier!
Check out other spring art projects


