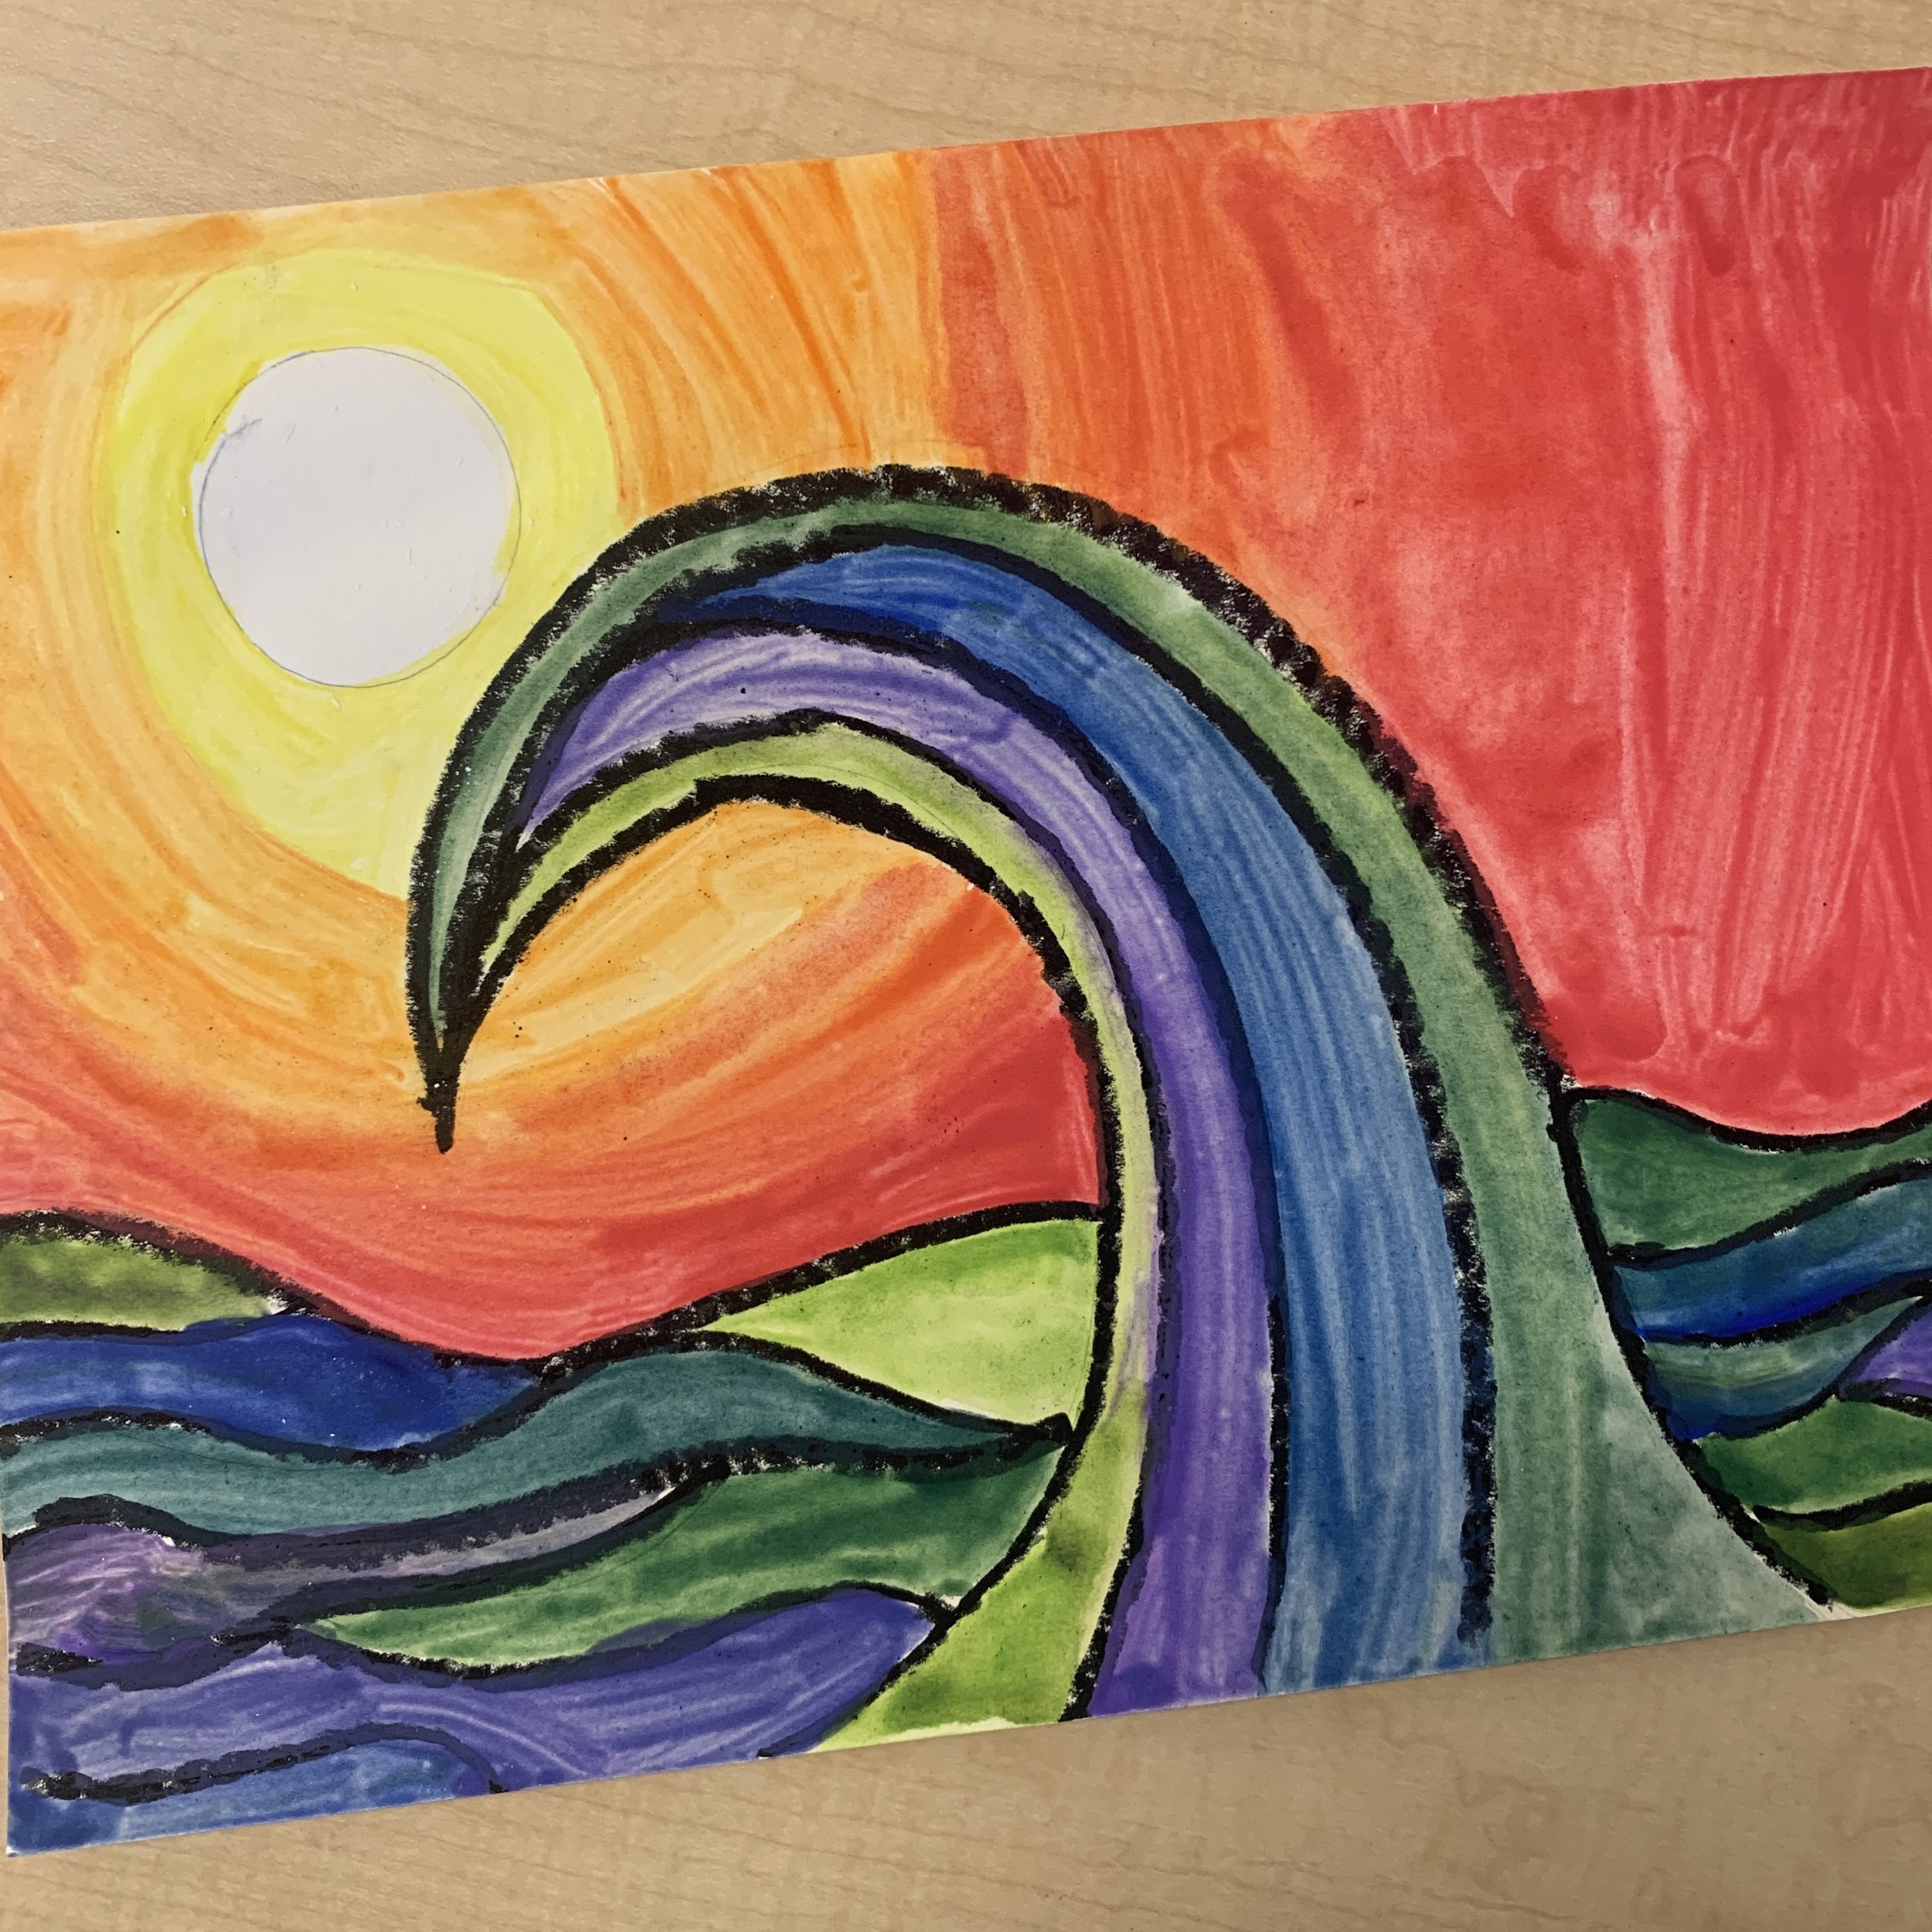
Sunset Wave Art Project
Another warm/cool coloured project that is sure to get you in the summer mood!
Before we get started, a couple tips that I learned since doing this with my class.
Don’t use pencil for the sun, just go for it with the pastel, it’ll work out.
We used liquid tempera paint and I wouldn’t do that again. It came out pretty streaky. Instead, stick with solid tempera or watercolour paint. You’ll still be able to blend but you won’t see the paint strokes so much.
Project inspired by: http://missyoungsartroom.blogspot.com/2015/10/6th-grade-ocean-paintings-with.html
Time required: 40-60 minutes
Teacher prep: None
Materials:
White cardstock
Oil pastels (white & black)
Pencil
Solid tempera or watercolour paint
Paint brush
Watercup
Steps:
Start by making a sun somewhere in the upper part of your paper. It can be central or off to the side. As I mentioned in the tips, try to avoid sketching with pencil for this. The white won’t cover it and you’ll see it. Instead, just make a circle and fill it in.
With a pencil, sketch a big wave coming up and curling down. Add a few curved lines inside.
Around the big wave, create some small waves with wavy lines.
Once you’re happy with the design, trace your lines with pastel. If you don’t have pastel, you can use a Sharpie but the oil pastel will help repel the paint, unlike the marker.
Start by painting the sky. Yellow to orange to red, blend your colours in a circular motion from the sun to the edges of the paper.
Now paint the water with cool colours (green, blue and purple).

More summer inspired projects: