

Spring Hyacinth Art Project
There are tons of variety of hyacinths that pop up in the spring. This project is modelled around a few types as it is just an interpretation. They usually come in pinks, blues or purples, yellows and whites so that’s why I went with this colour palette.
This is meant to be done with fingers so if you have a student who has a sensory issue that prevents them from touching paint, you could use cotton buds instead.
Thanks to my mom for this project, I stole her idea!

Timeline: 30 minutes
Materials:
White paper
Liquid tempera paint (green, blue, yellow, pink, purple, white)
Paint brush (thin)
Cotton buds if necessary
Optional (choose one):
Watercolour paint
Oil pastel
Chalk pastel


Steps:
*OPTIONAL STEP - background colour
If using a chalk or oil pastel, flip it on it’s side and drag it down the paper. This will make the colour even and will cover the paper quickly. *See image below and example 2 for final product
If using paint, I would use watercolour and go with a very light wash. No deep saturated colours as we want the flowers to be the star of the show. Light yellow, blue, pink or purple would be ideal. Keep it pastel-like! A tiny bit of pigment with lots of water. Do this earlier in the day or the day before so that it is completely dry before adding your liquid paint on top. We don’t want it to run together.


Start by painting your stems and leaves with the green liquid tempera and a thin brush. Choose 3 to 5 flowers. You can also vary the size.
Now start finger painting the flowers. They have a bit of a cone shape (though hyacinths can also be a bit tubular so do whatever you want with that). I chose to make two purple and the rest were different colours but it is up to the student which colours they want. They could make them all purple or alternate purple and pink.
Paint one flower at a time, washing your finger in between so that paint doesn’t transfer.
Once all flowers are complete, add a bit of white to each flower. This is for a highlight. If you did a white flower because your background suited it, no need to do it on this one. I just used different fingers for each flower so I didn’t have to wash in between but you’re welcome to wipe/wash instead.
EXAMPLE 1 - These do not have any background colour. This paper had a bit of a speckled effect so we kept it natural.

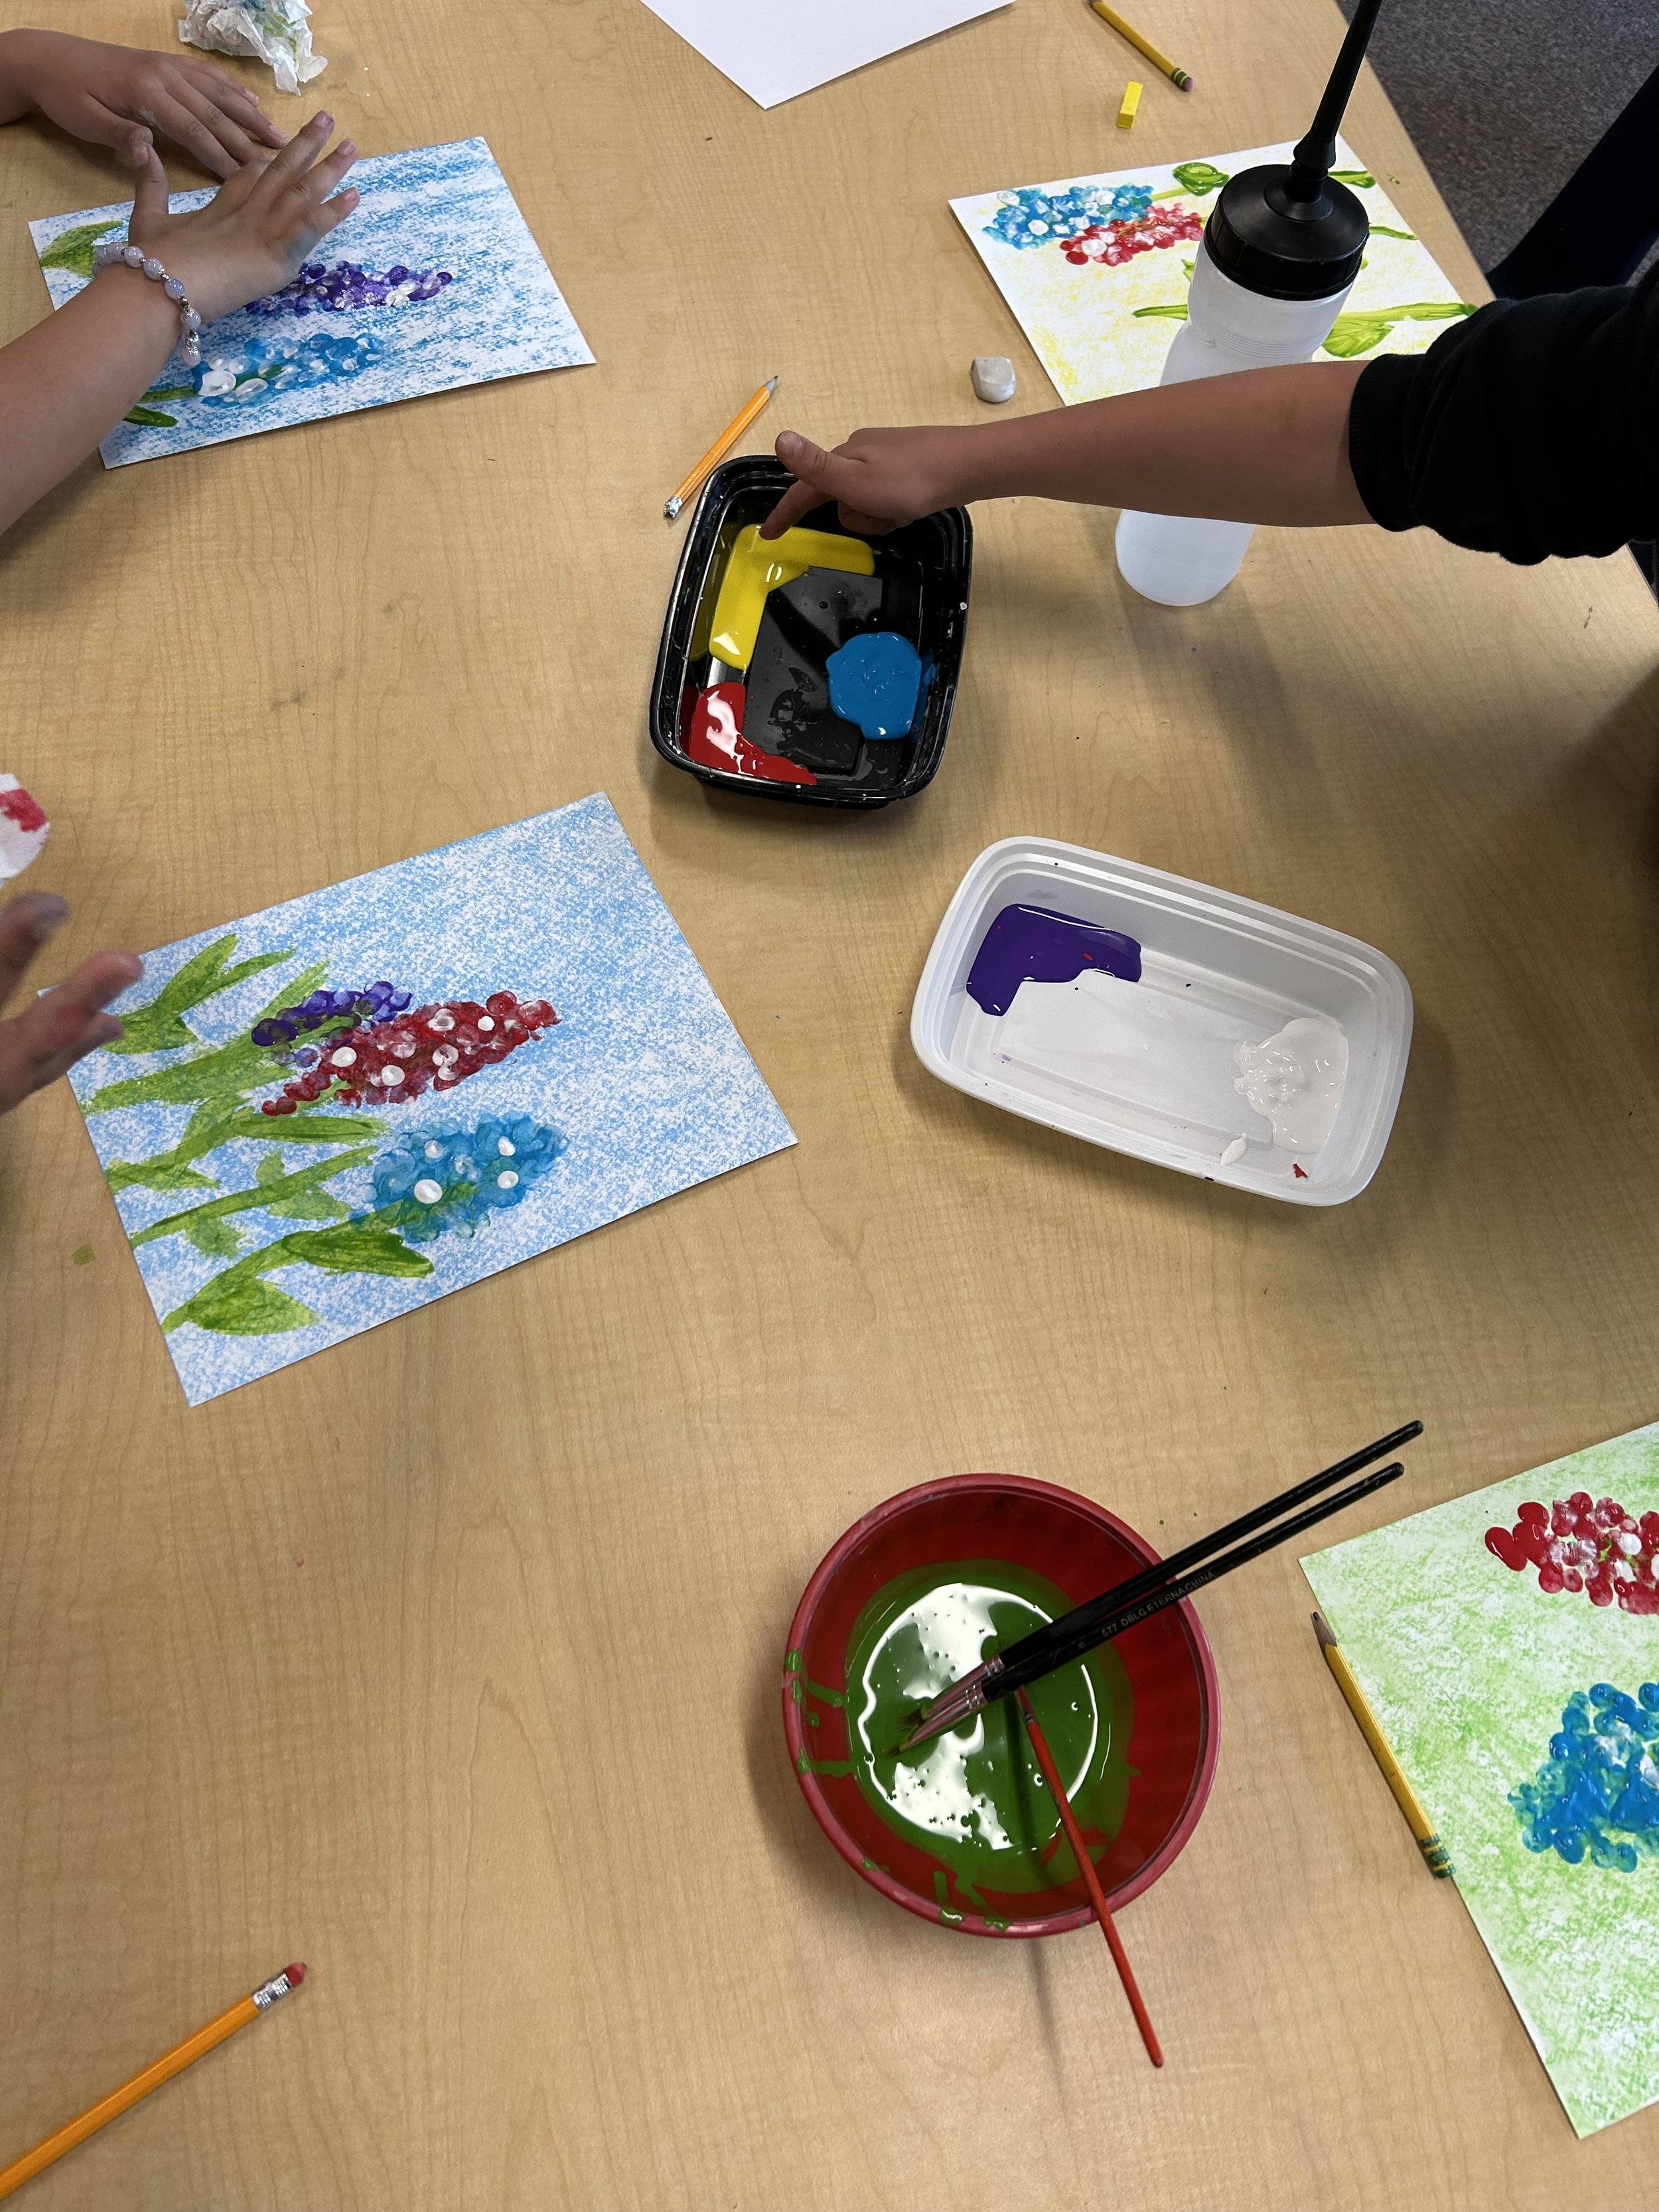
EXAMPLE 2 - Here we used chalk pastel to do the background.

Check out other spring art projects


